Wednesday, November 27, 2019

She Lives!


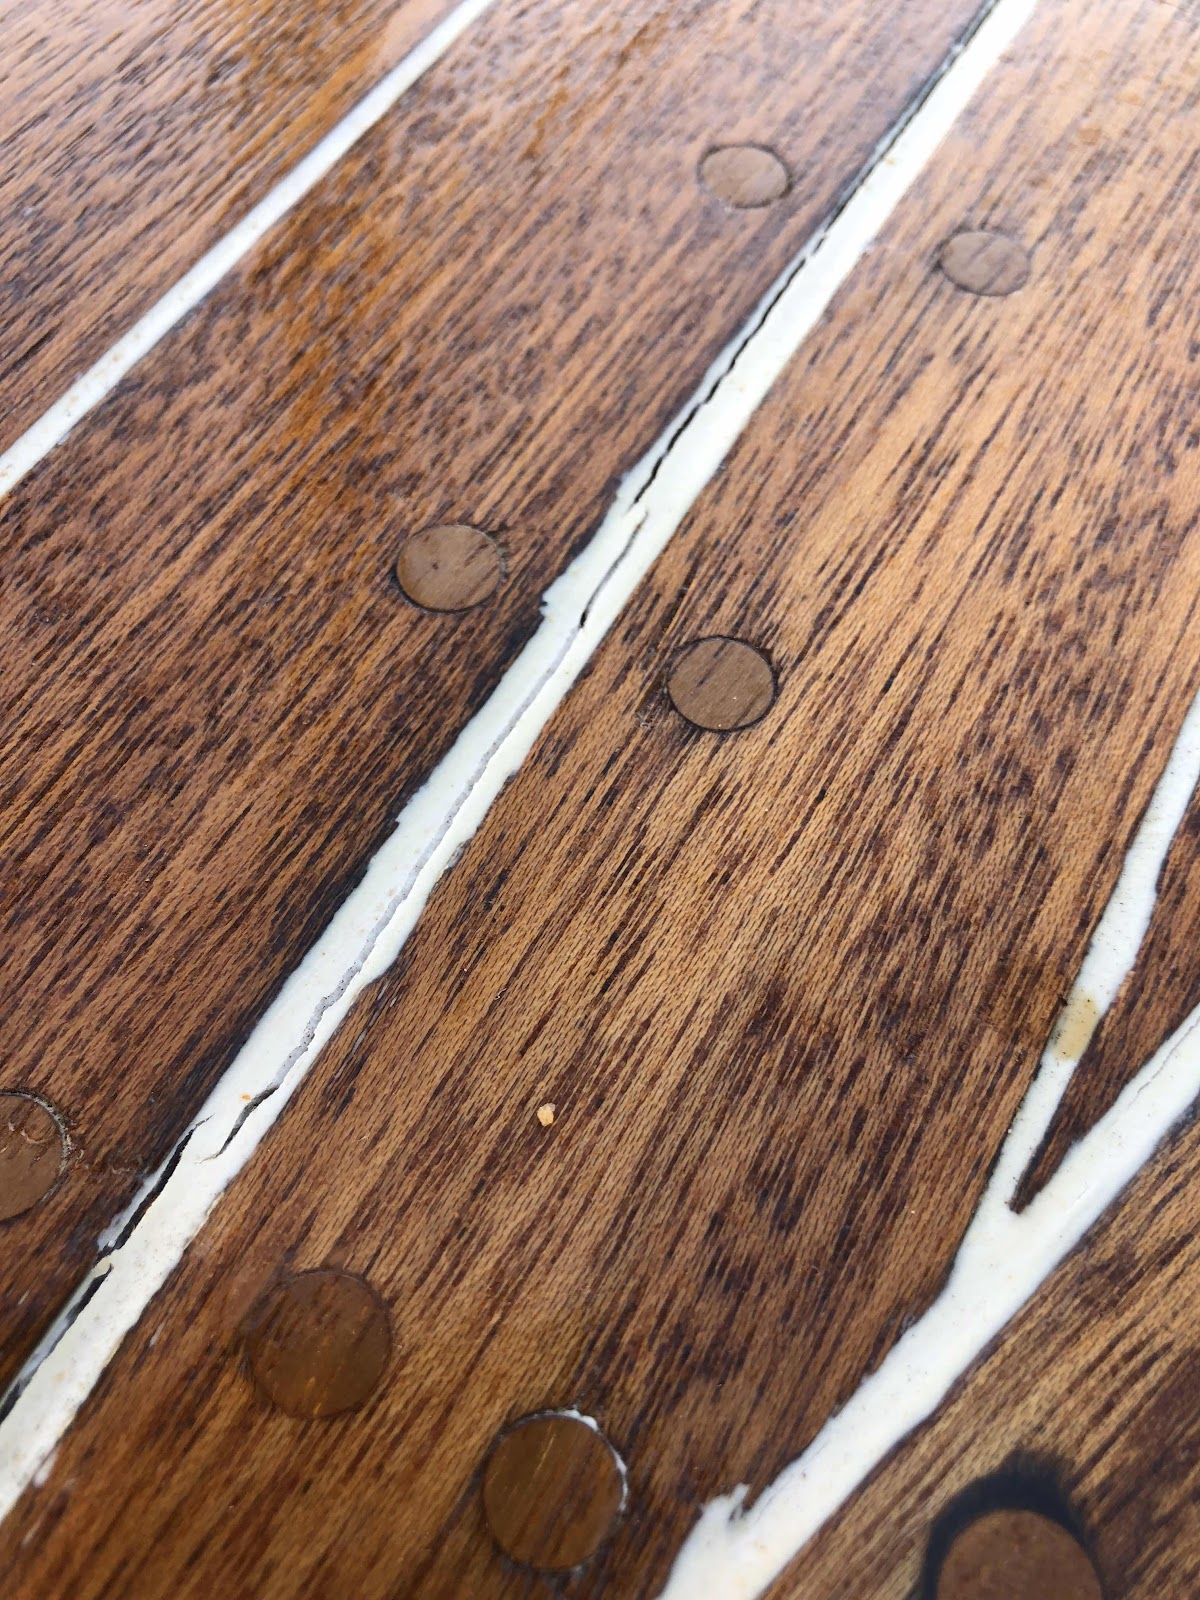
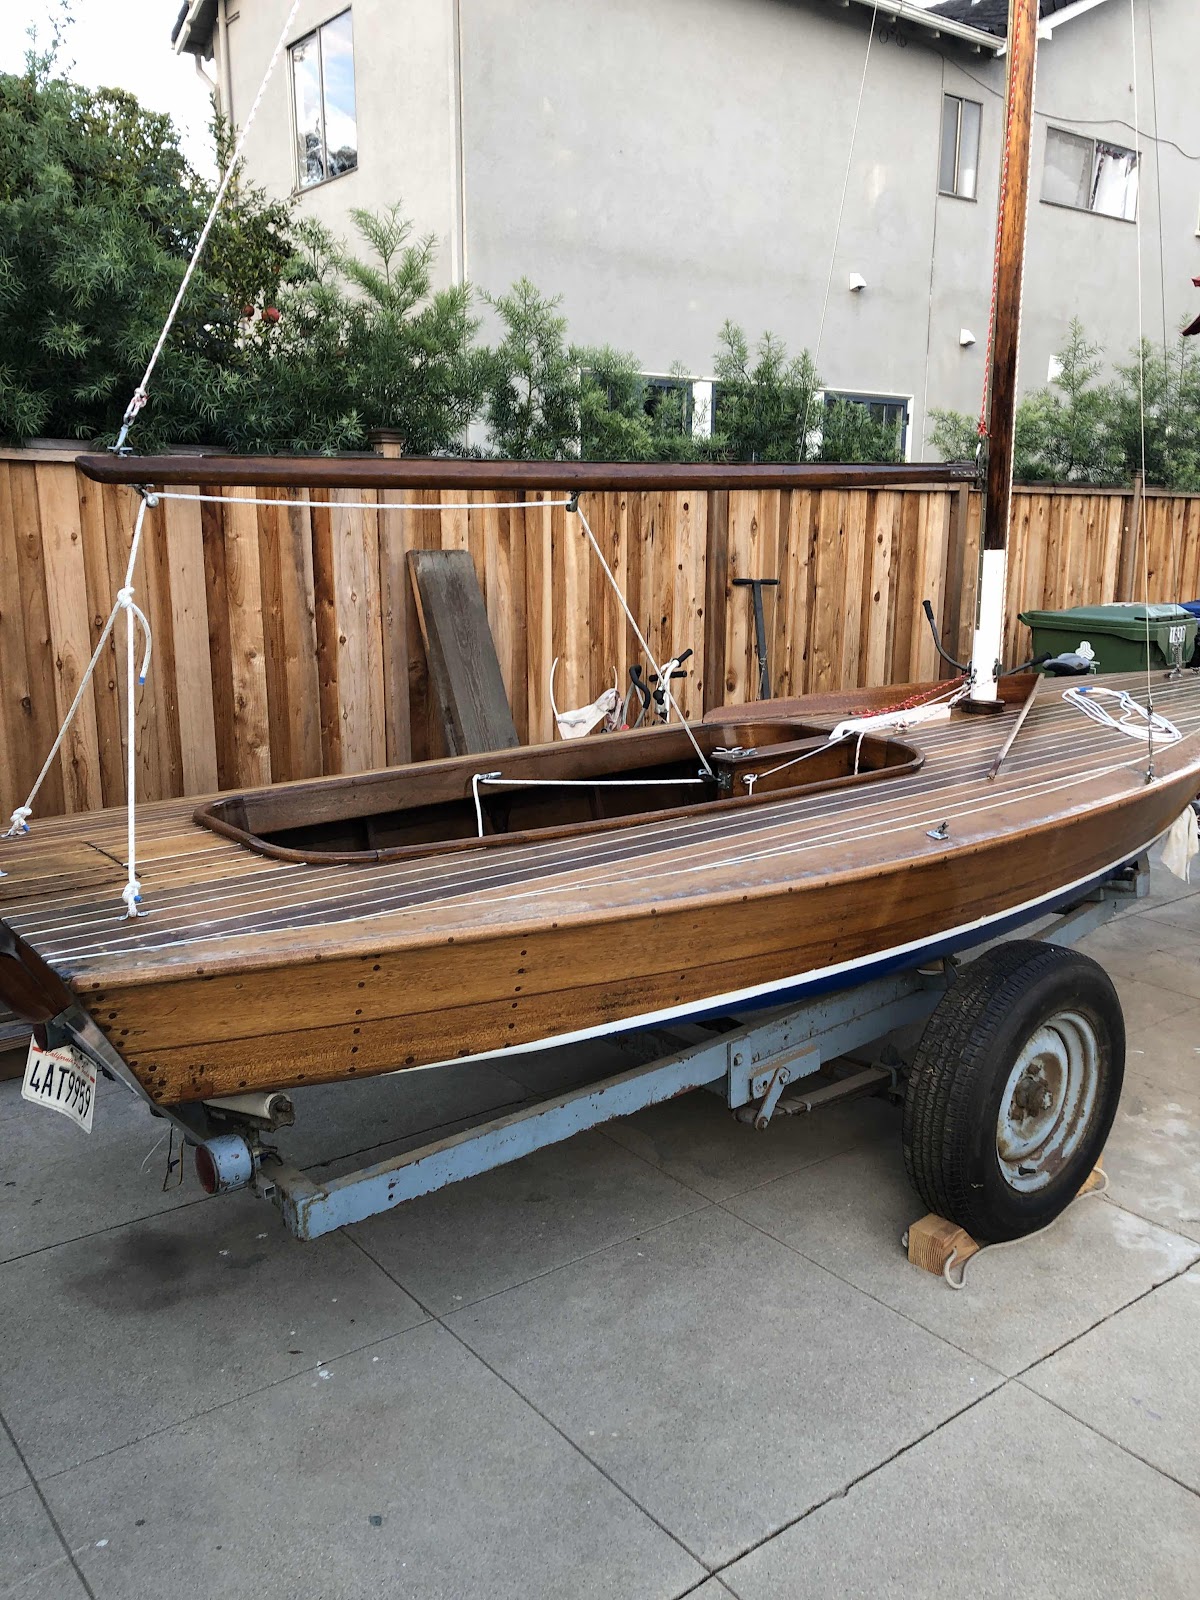
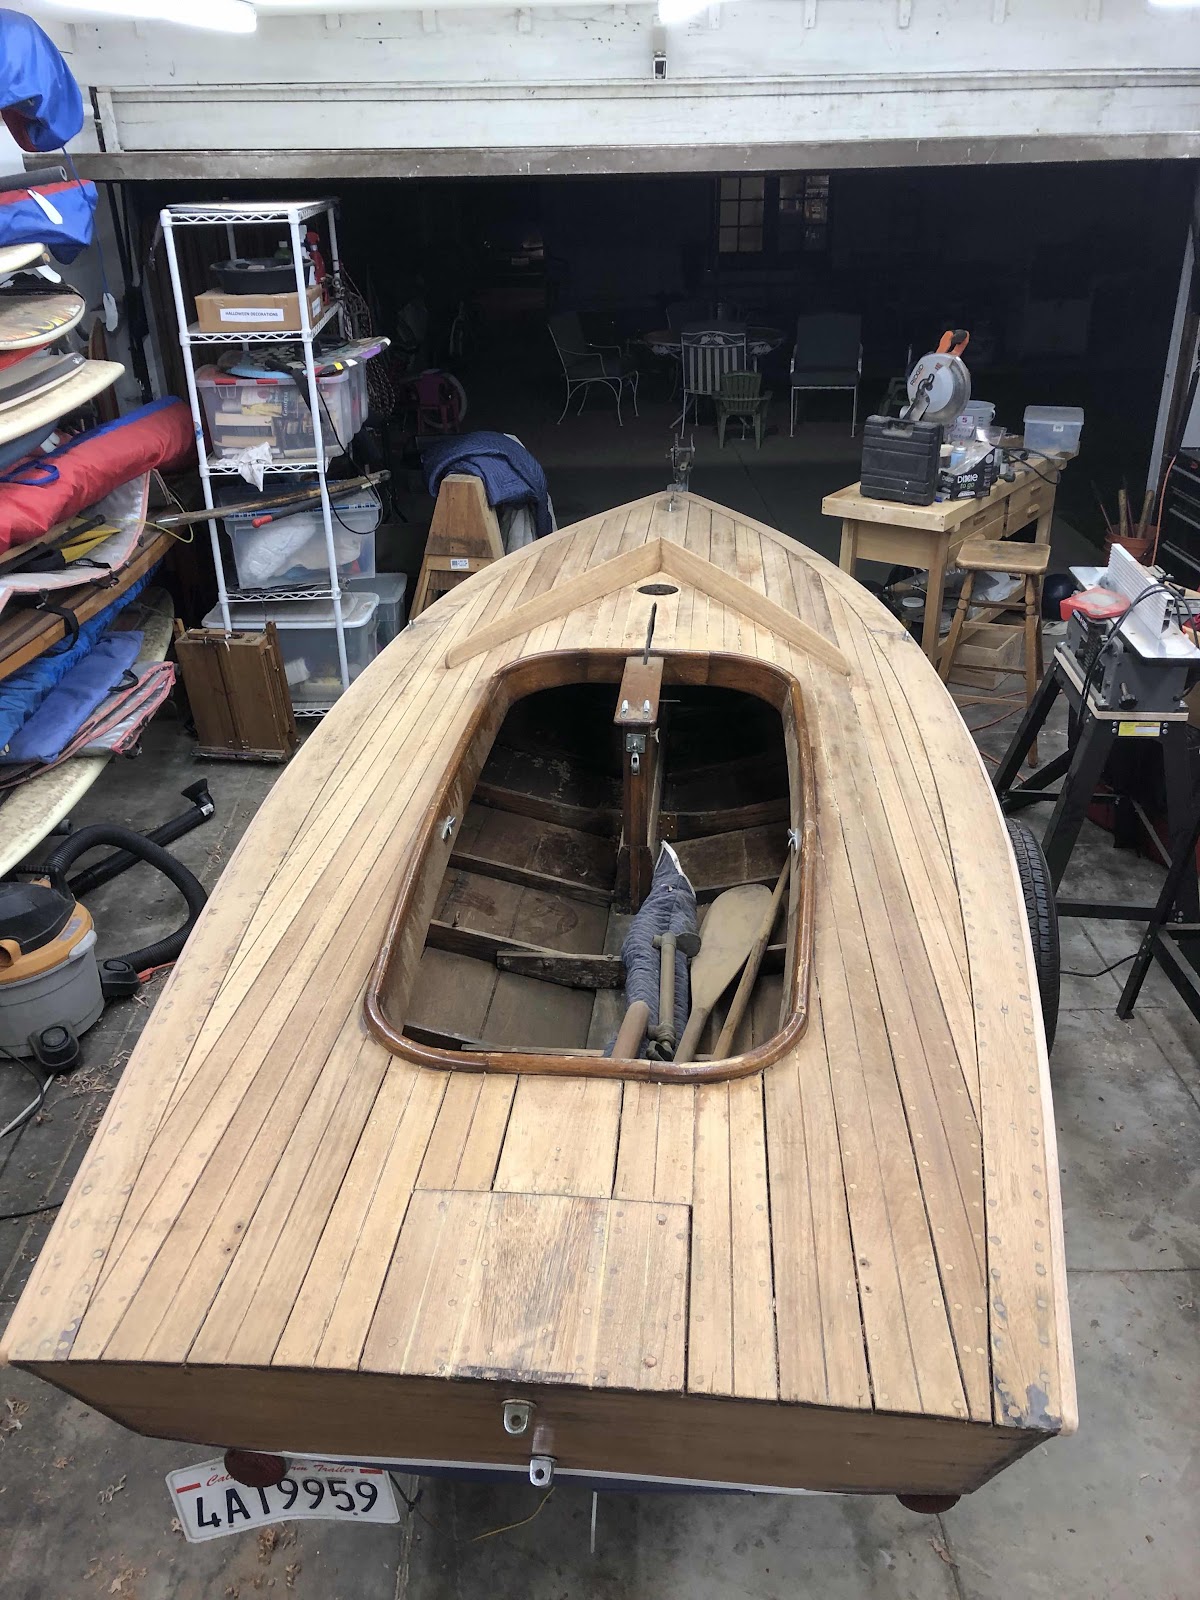
So my apologies for the late update.   But back in early September she was completed and sailed in a regatta against a few other classic snipes.  My goal was to make the start, have nothing break, and finish.   We did all that and also won the regatta with a second and a first.   Shady lady was great.  Very solid and pointed well after we got the hang of it.  She definitely took on some water and ther is some work to do on rigging, but all in all. Very happy.  The leaking was mainly from the top seam of the centerboard trunk logs, which I think is an easy fit. That was not an areas I had paid Much attention to, assuming it was above the water line.  The other issue was the sheets, which were very hard manage with the original jamb cleats;  the angle from the blocks to the cleats required a lot of strength just to get the sheets pulled into them, and they came loose several times.   Other than that,  all was fantastic!

Also. Cheryl, who gave me the boat, came to see the launch.  I asked her the last time it had been sailed and she estimated it had been out of the water since 1973!   Hopefully she’ll get back in again soon.   Some of the deck caulking had started to split when I left the boat out in the sun for a few days.  These cracks closed up after the time in the water ,
But I think the idea of DAP33 on the deck of a dry sailed boat may not have been a great idea.  For a boat kept I the water...  maybe


Wednesday, September 4, 2019

Mast Holder

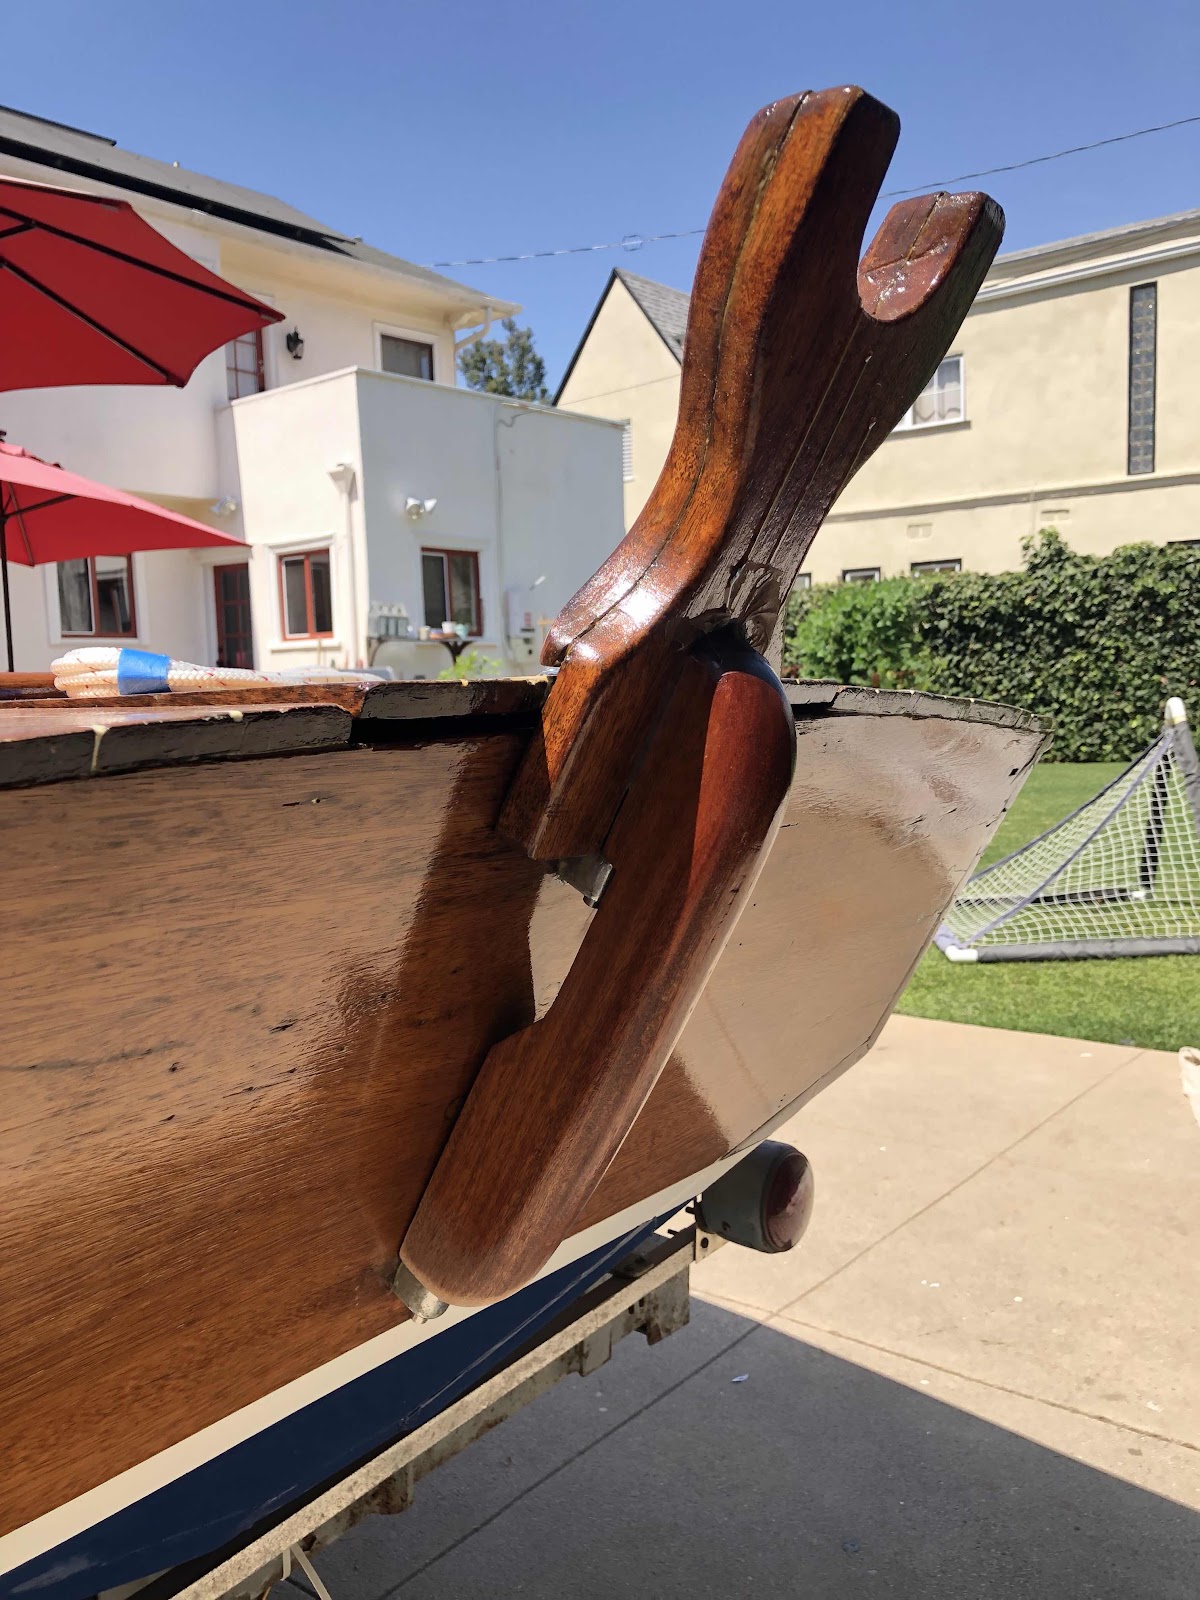
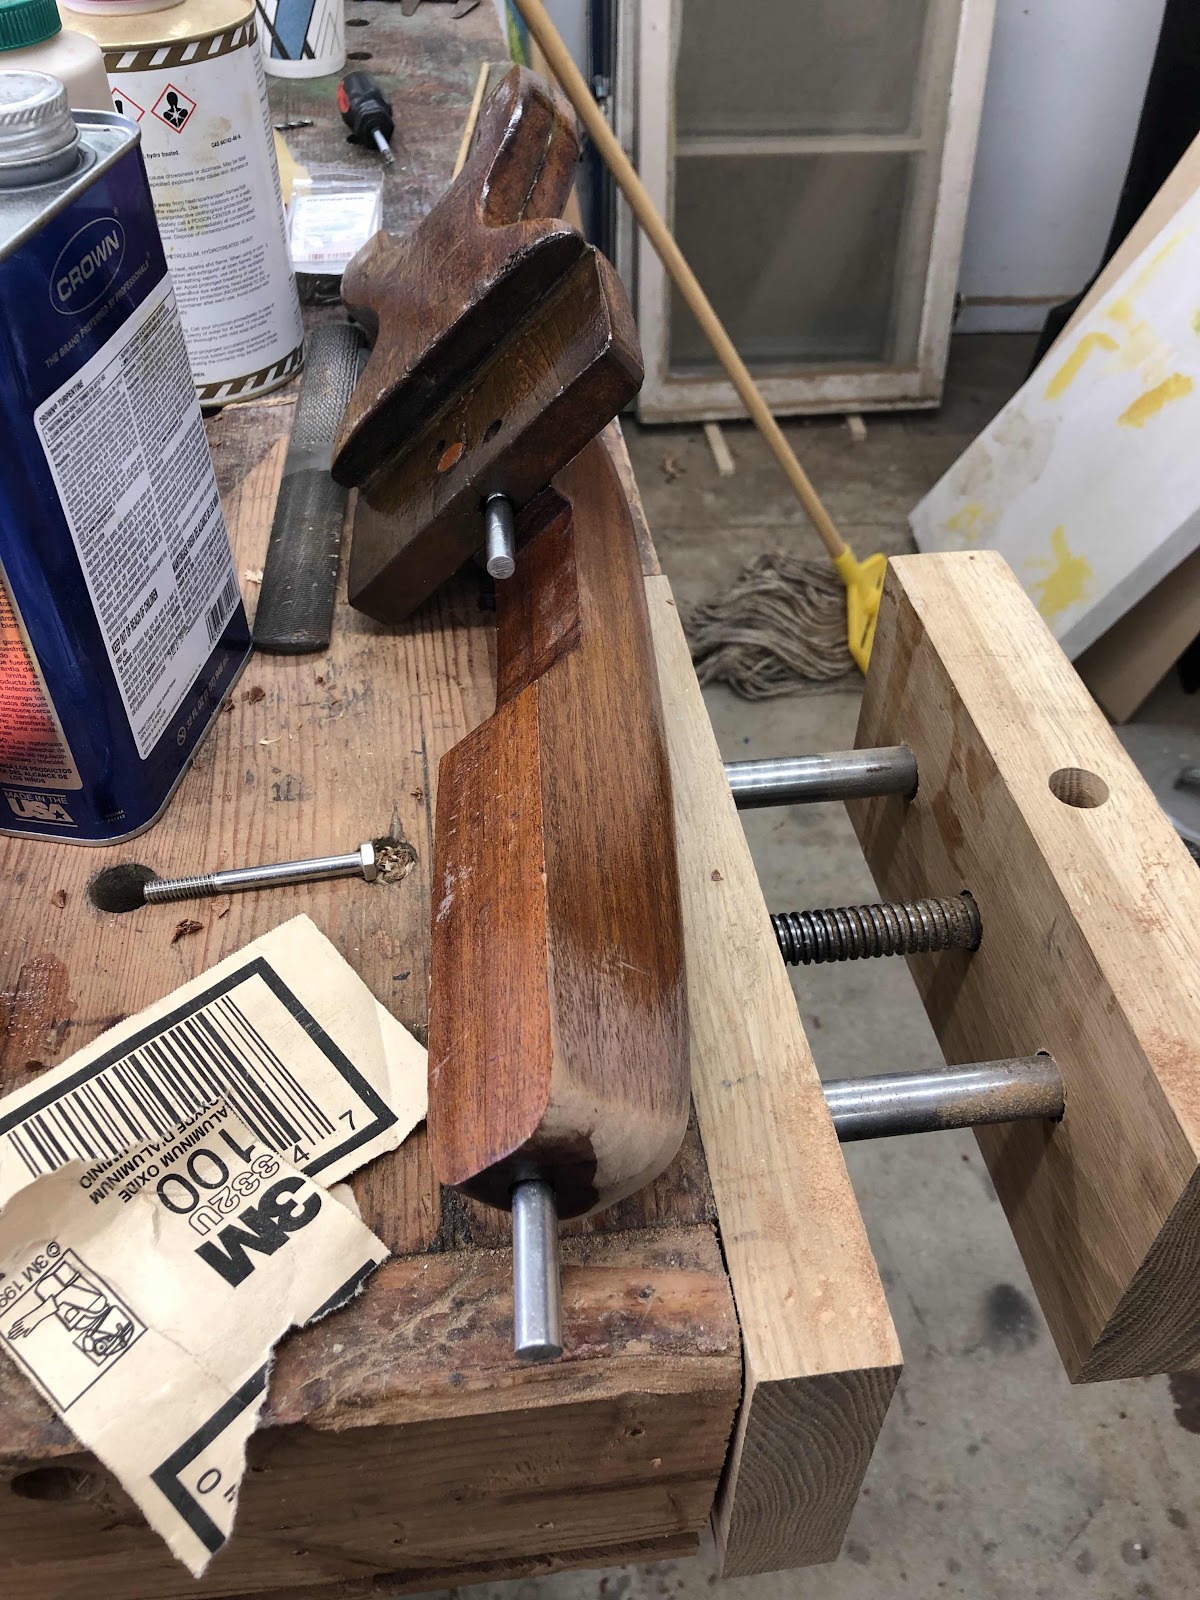
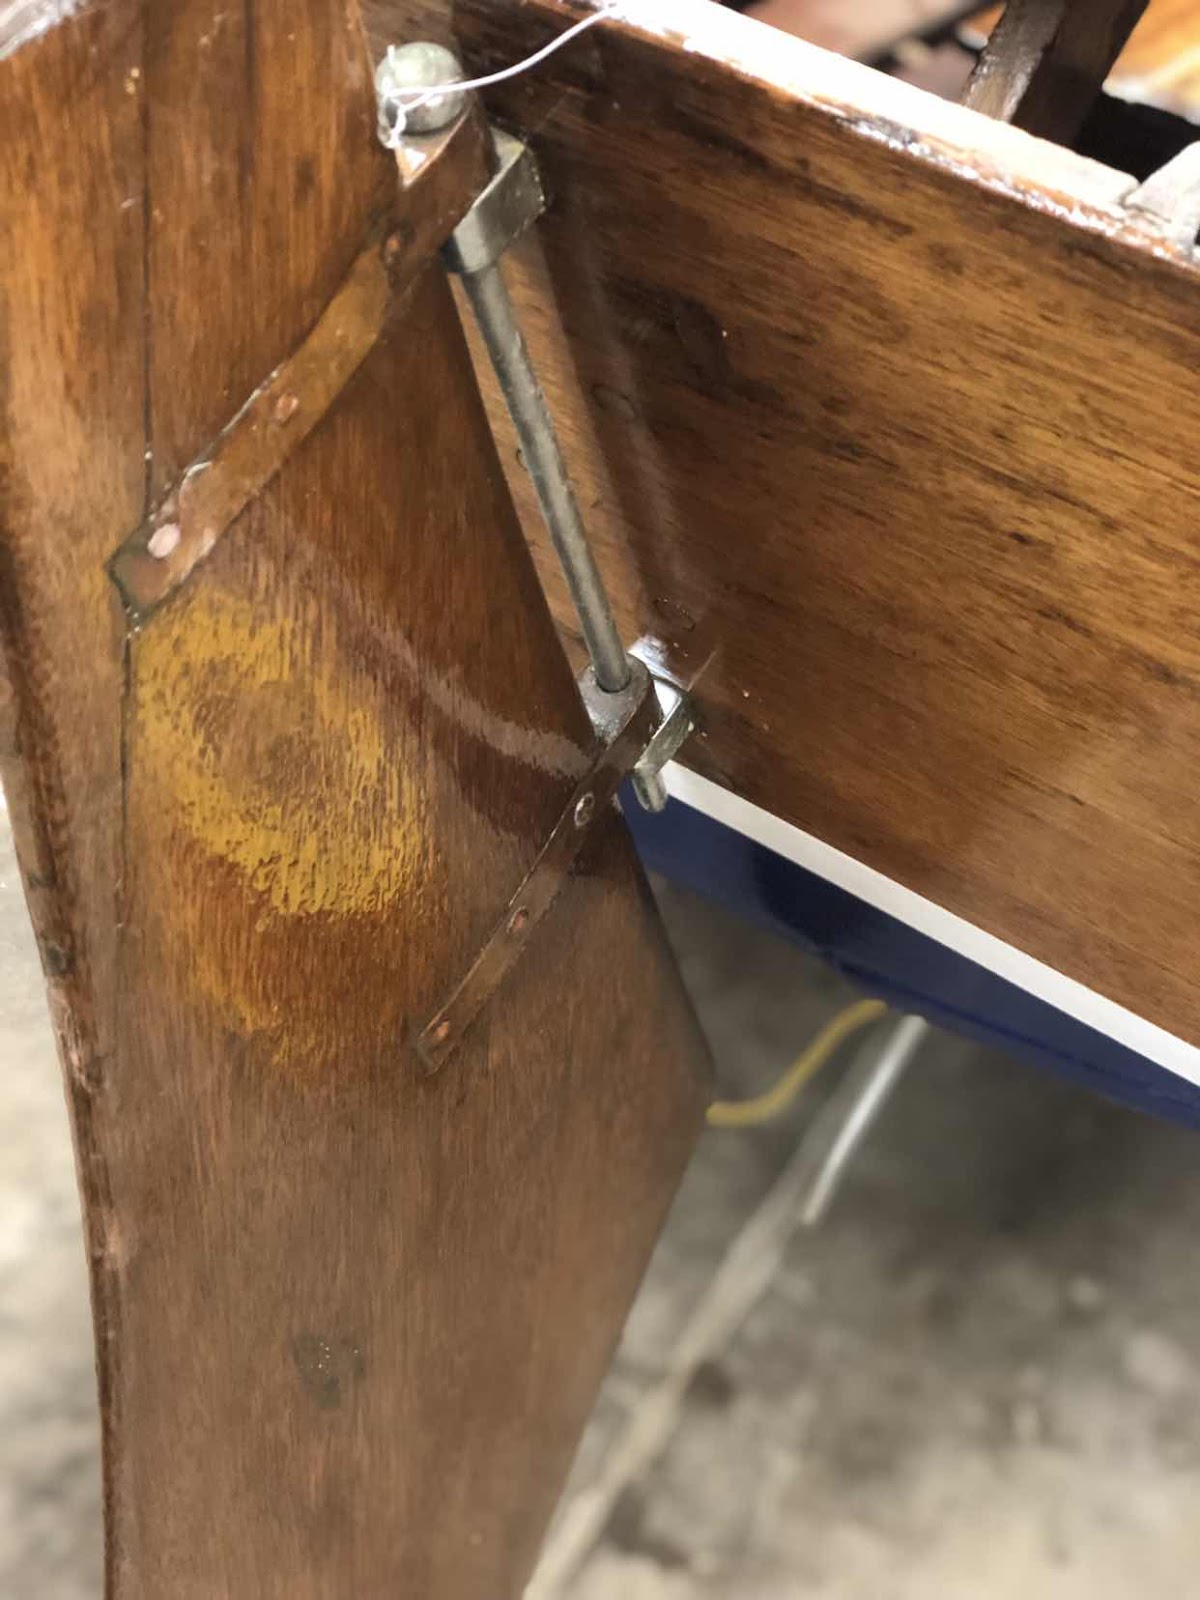
Here is the mast holder that mounts on the transom in the rudder gudgeons.  The original had steel pins that had deteriorated and the bottom wood member was showing signs of rot.   I replaced the main piece and then put in stainless pins.  The top section is original.  The pins are 1/2 inch stainless bolts with the heads cut off and epoxied in.  


Wednesday, August 28, 2019

Spars and rigging

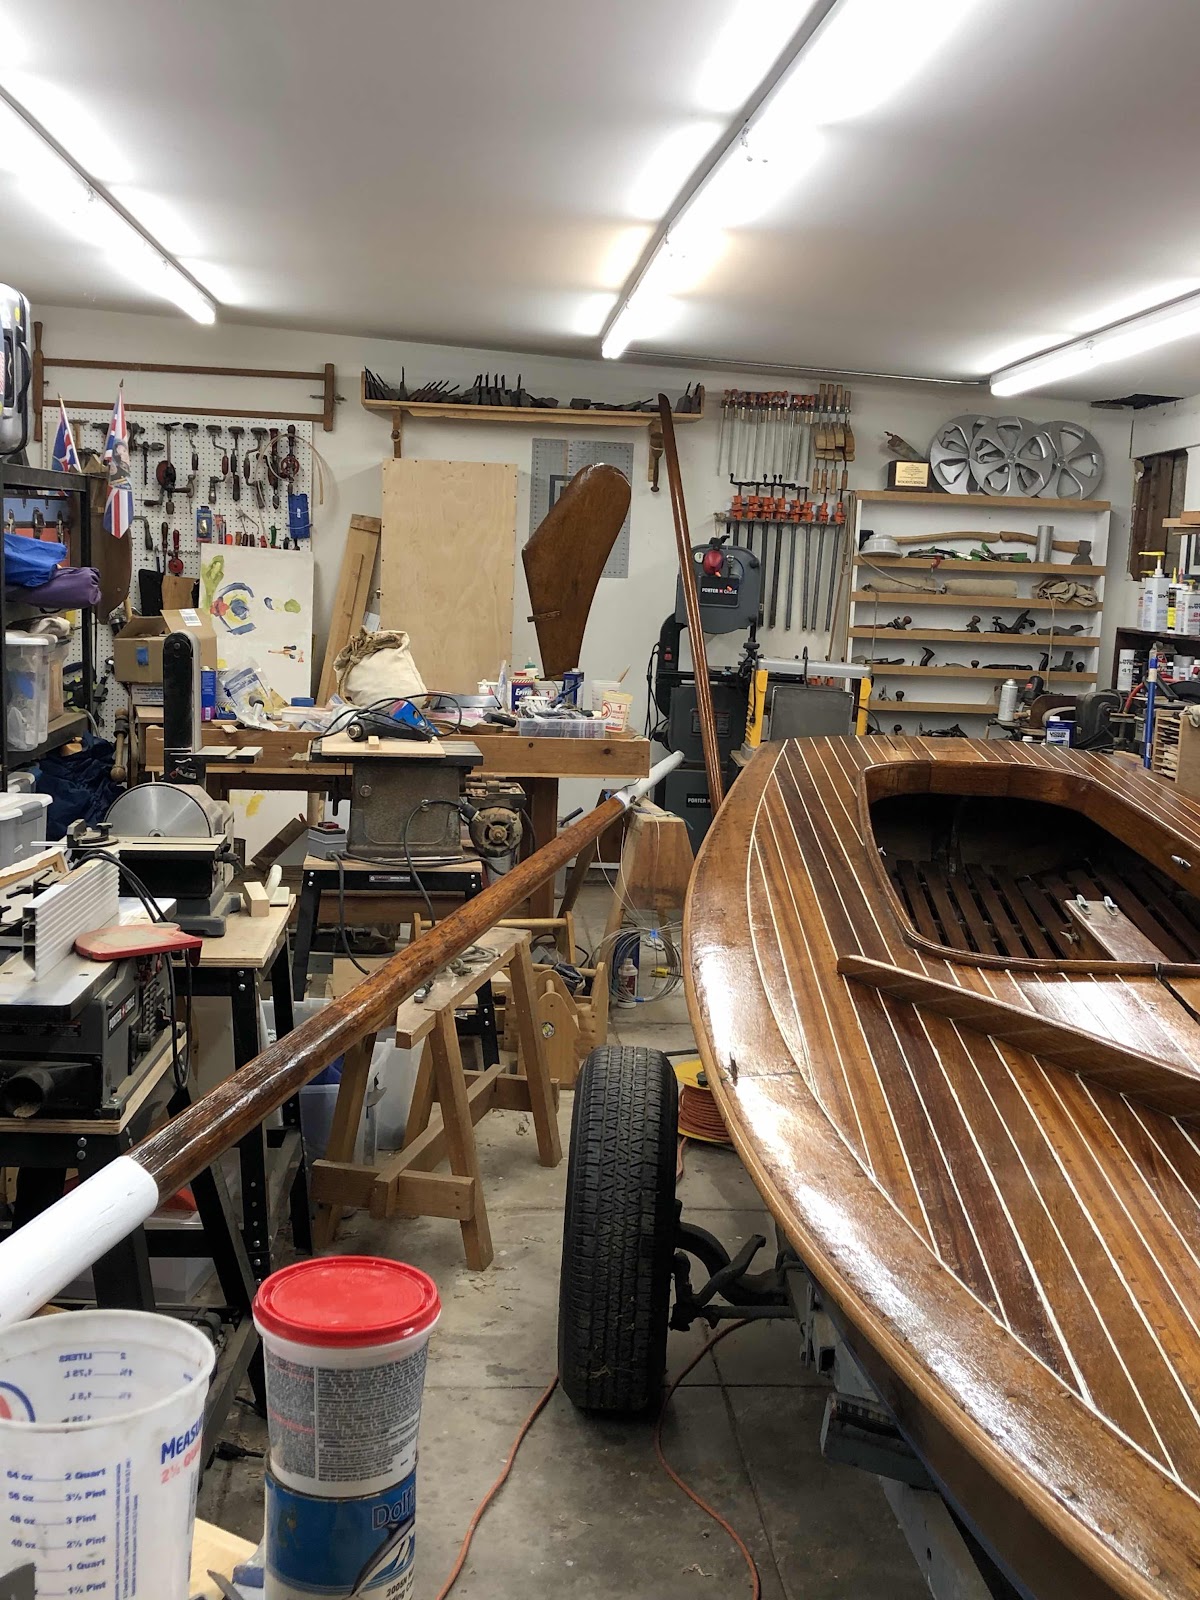
I’ve almost finished with the mast.  Track is on main Sheeve is in; its ready for running rigging.   Track for the boom is on order and should arrive tomorrow


Wednesday, August 21, 2019

Varnish coat #5

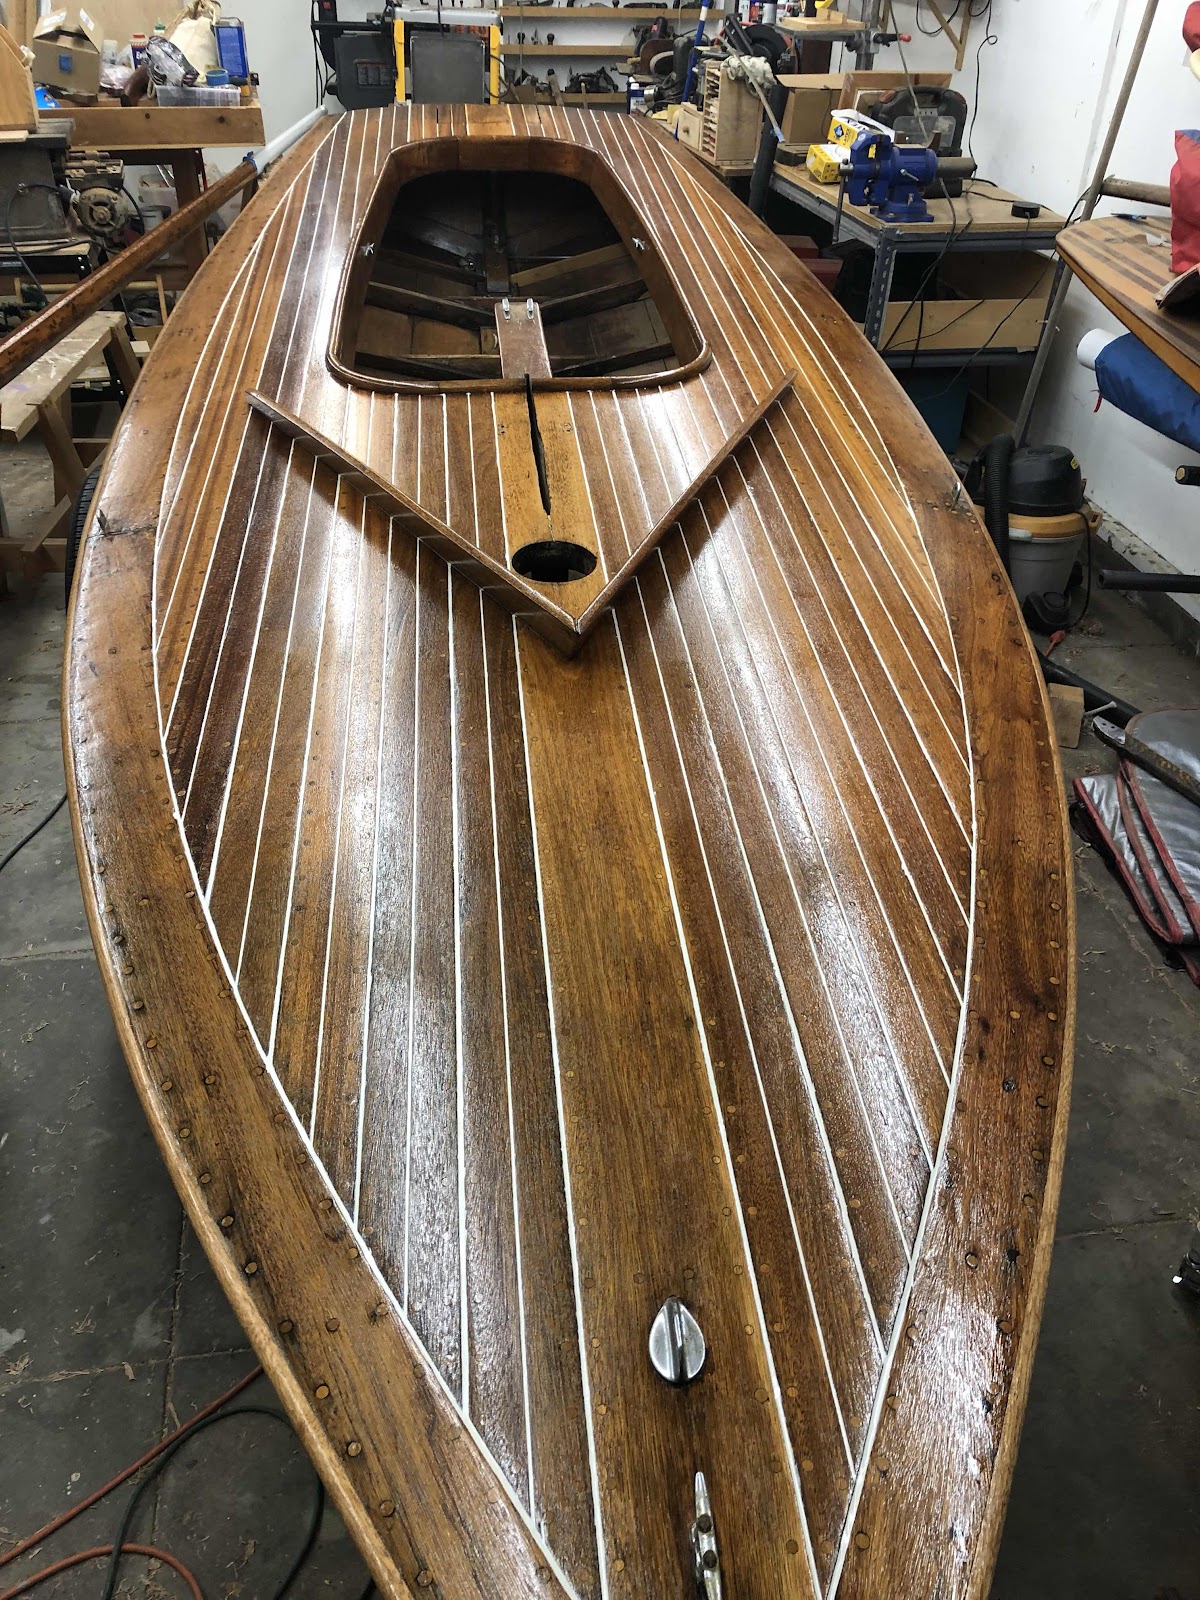
This may be as far as I get before sailing the boat. We have a race 9/7 and I need to turn my attention to rigging.  I can always add more coats later. 


Saturday, August 17, 2019

Rig is up!

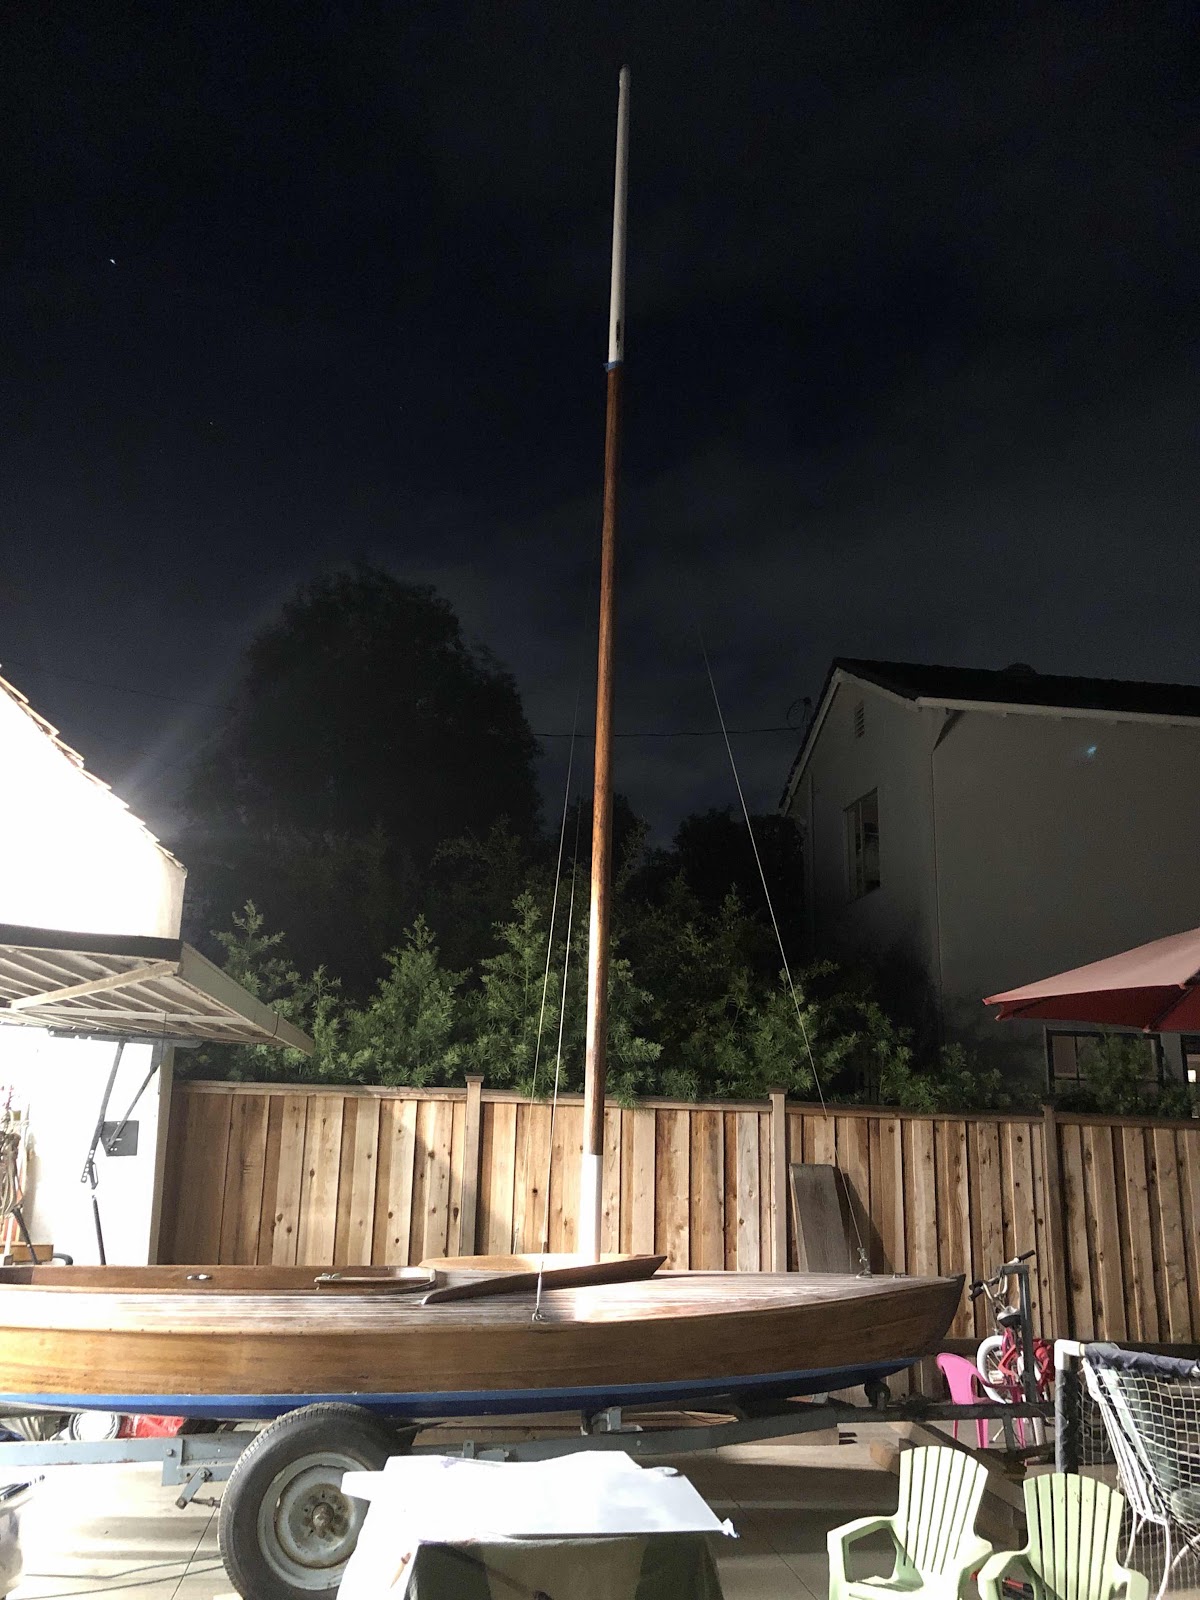
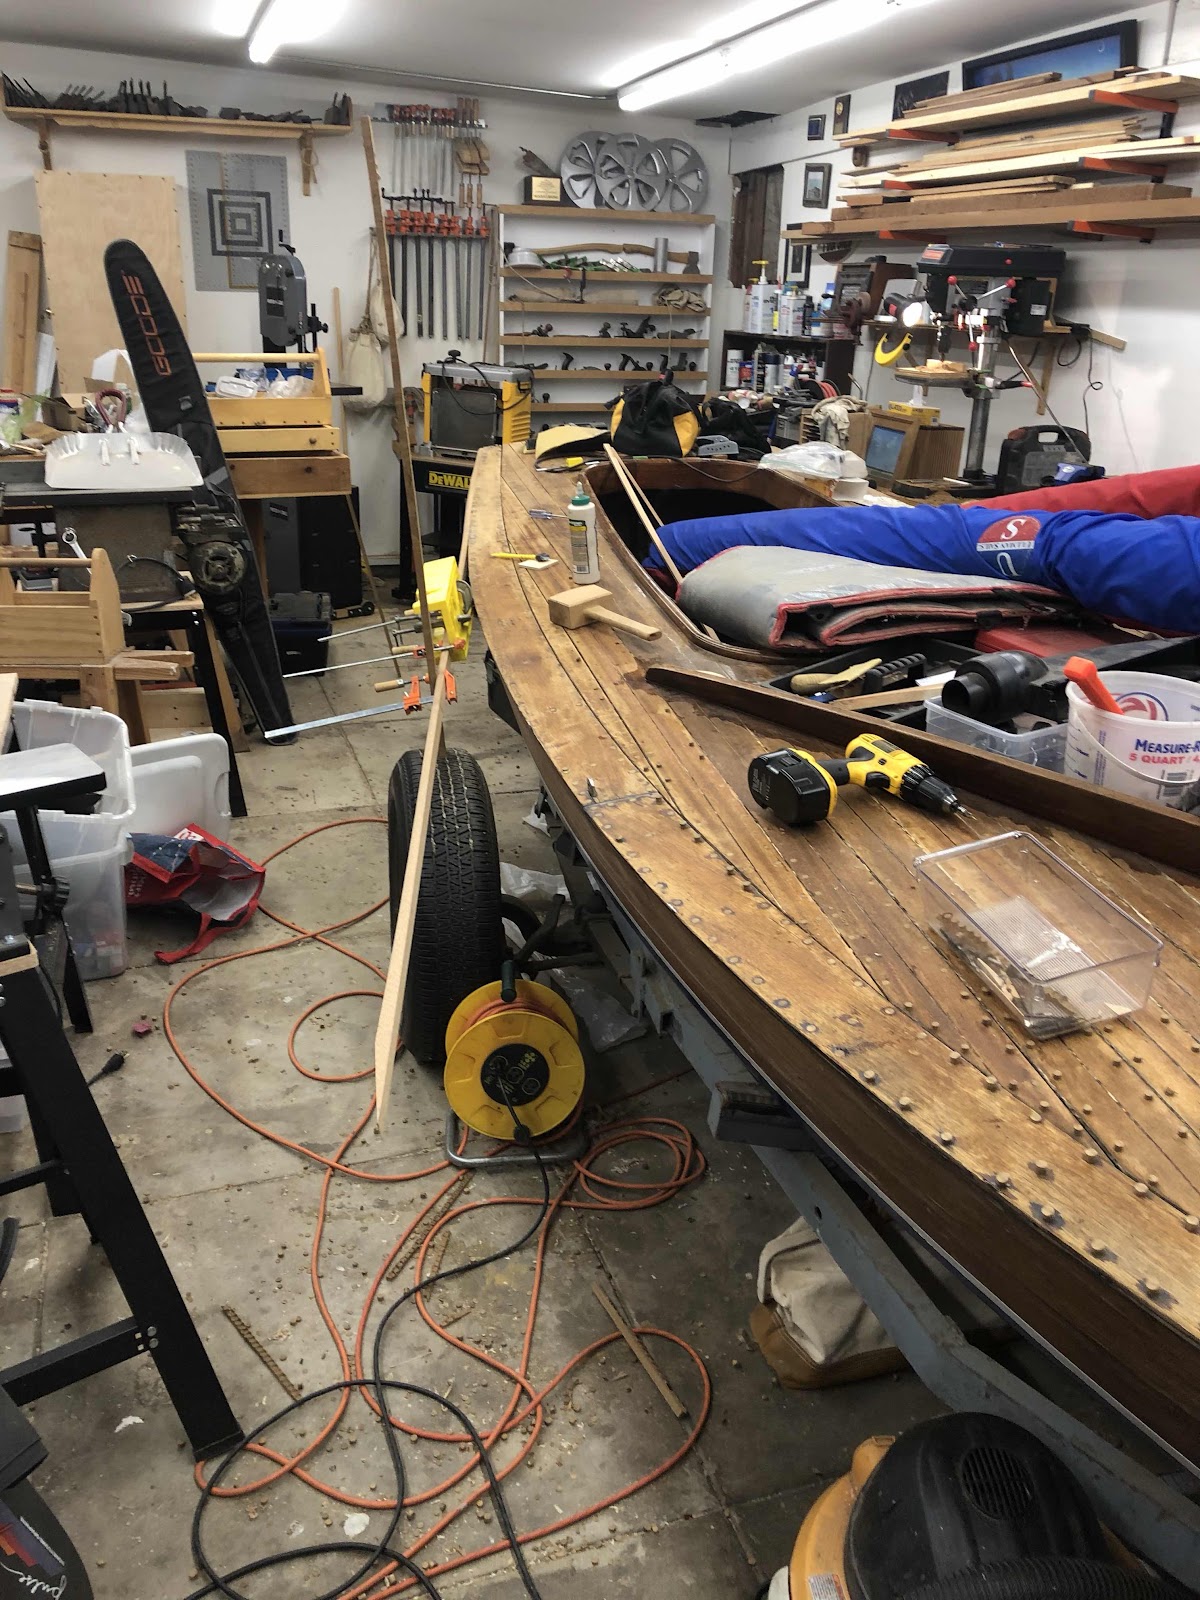
Stood up the rig.  Spent the afternoon swaging the shrouds and forestay.  Only had one screw up when I failed to subtract the forestay adjuster length, luckily I just cut off the swaged loop and did it again; perfect length!   Thenmast seems to have a lot less rake than I would expect.   The step is pushed as far forward as it can go, so I may need to reshape it is it needs more rake.  I had reshaped the foot as it was in bad shape.  I may have added too much.  


Monday, August 12, 2019

More varnish

Now that the seams are puttied and the putty has skinned I got back to vanishing


Friday, August 2, 2019

Seams Puttied

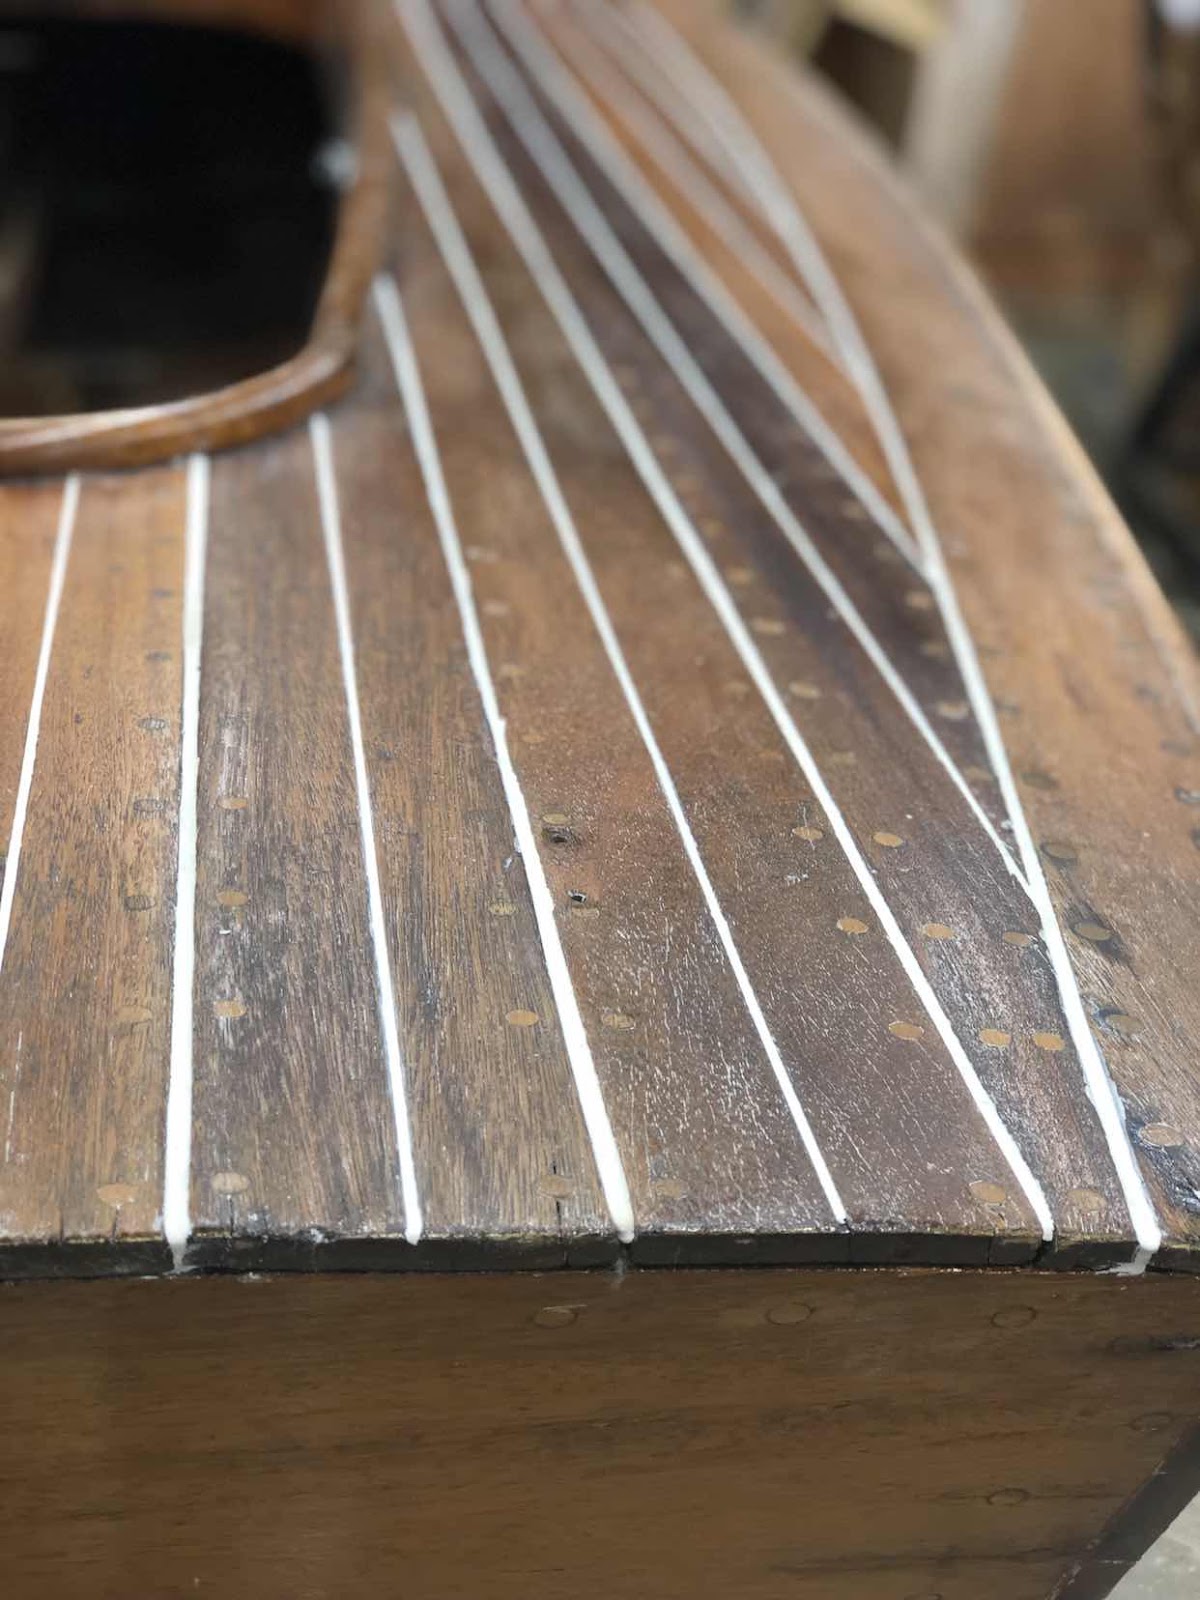
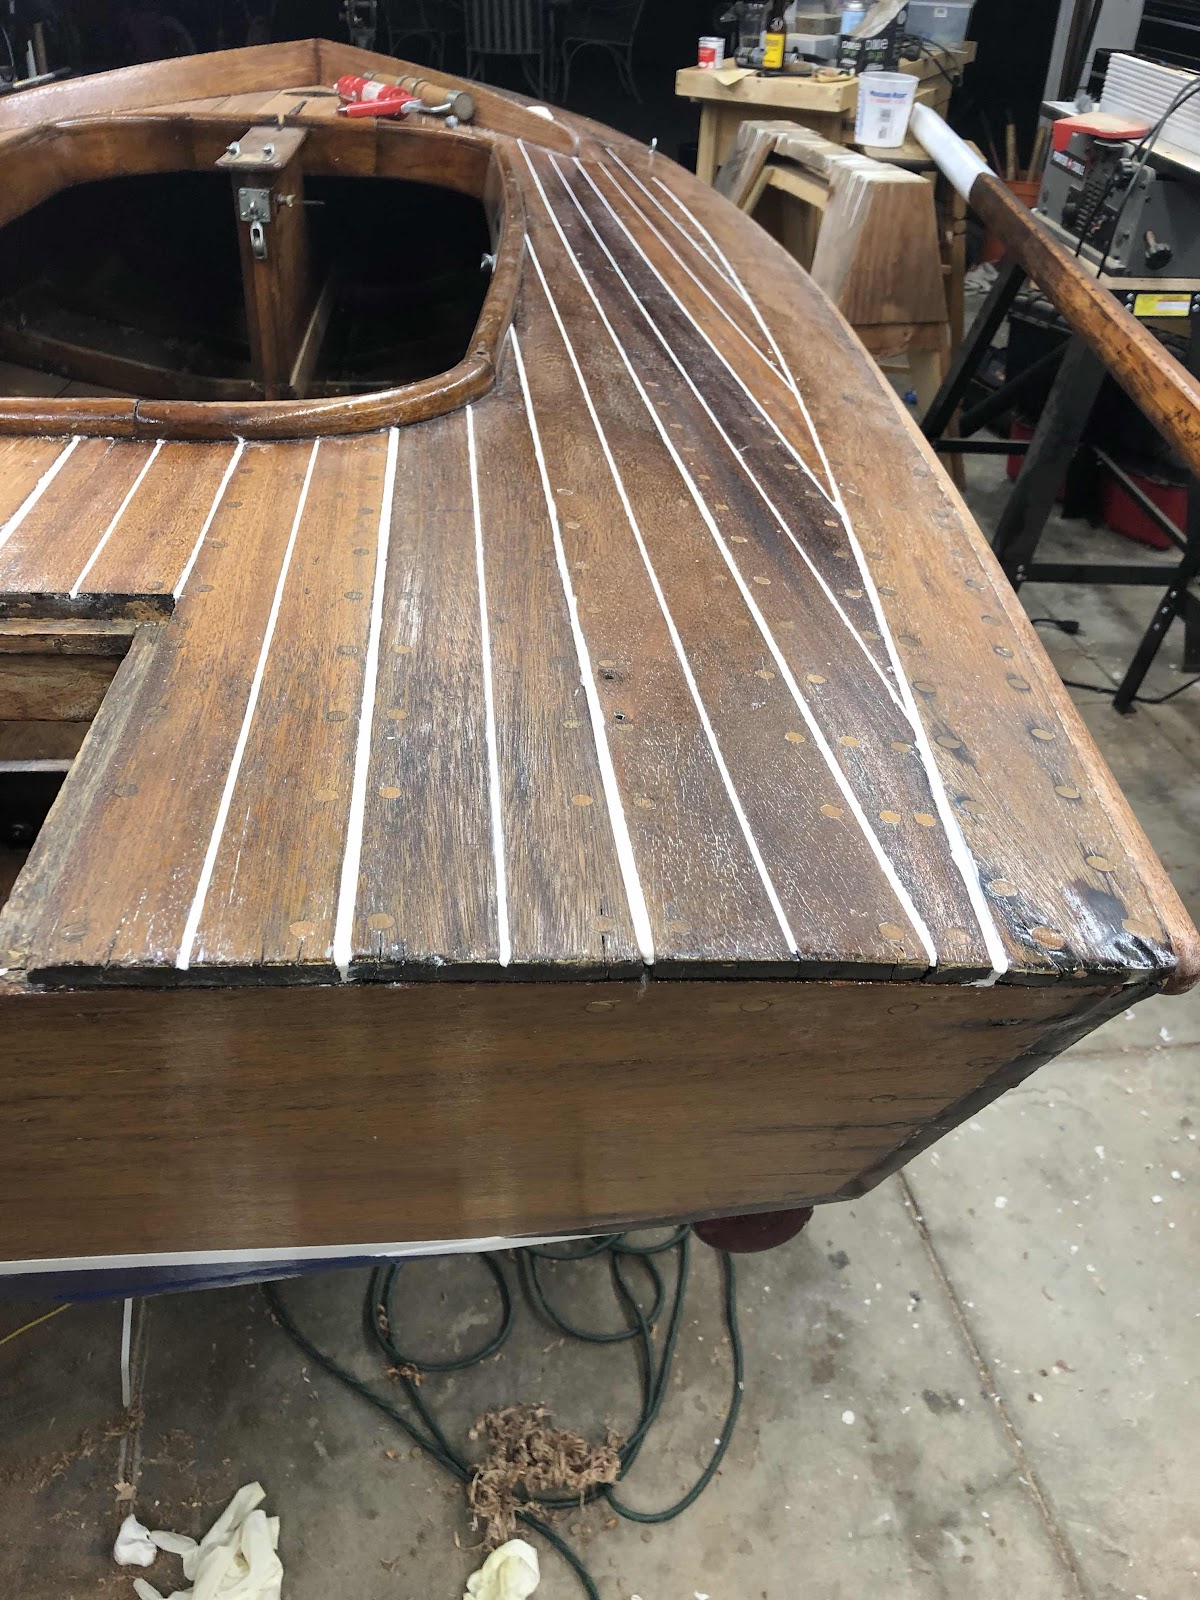
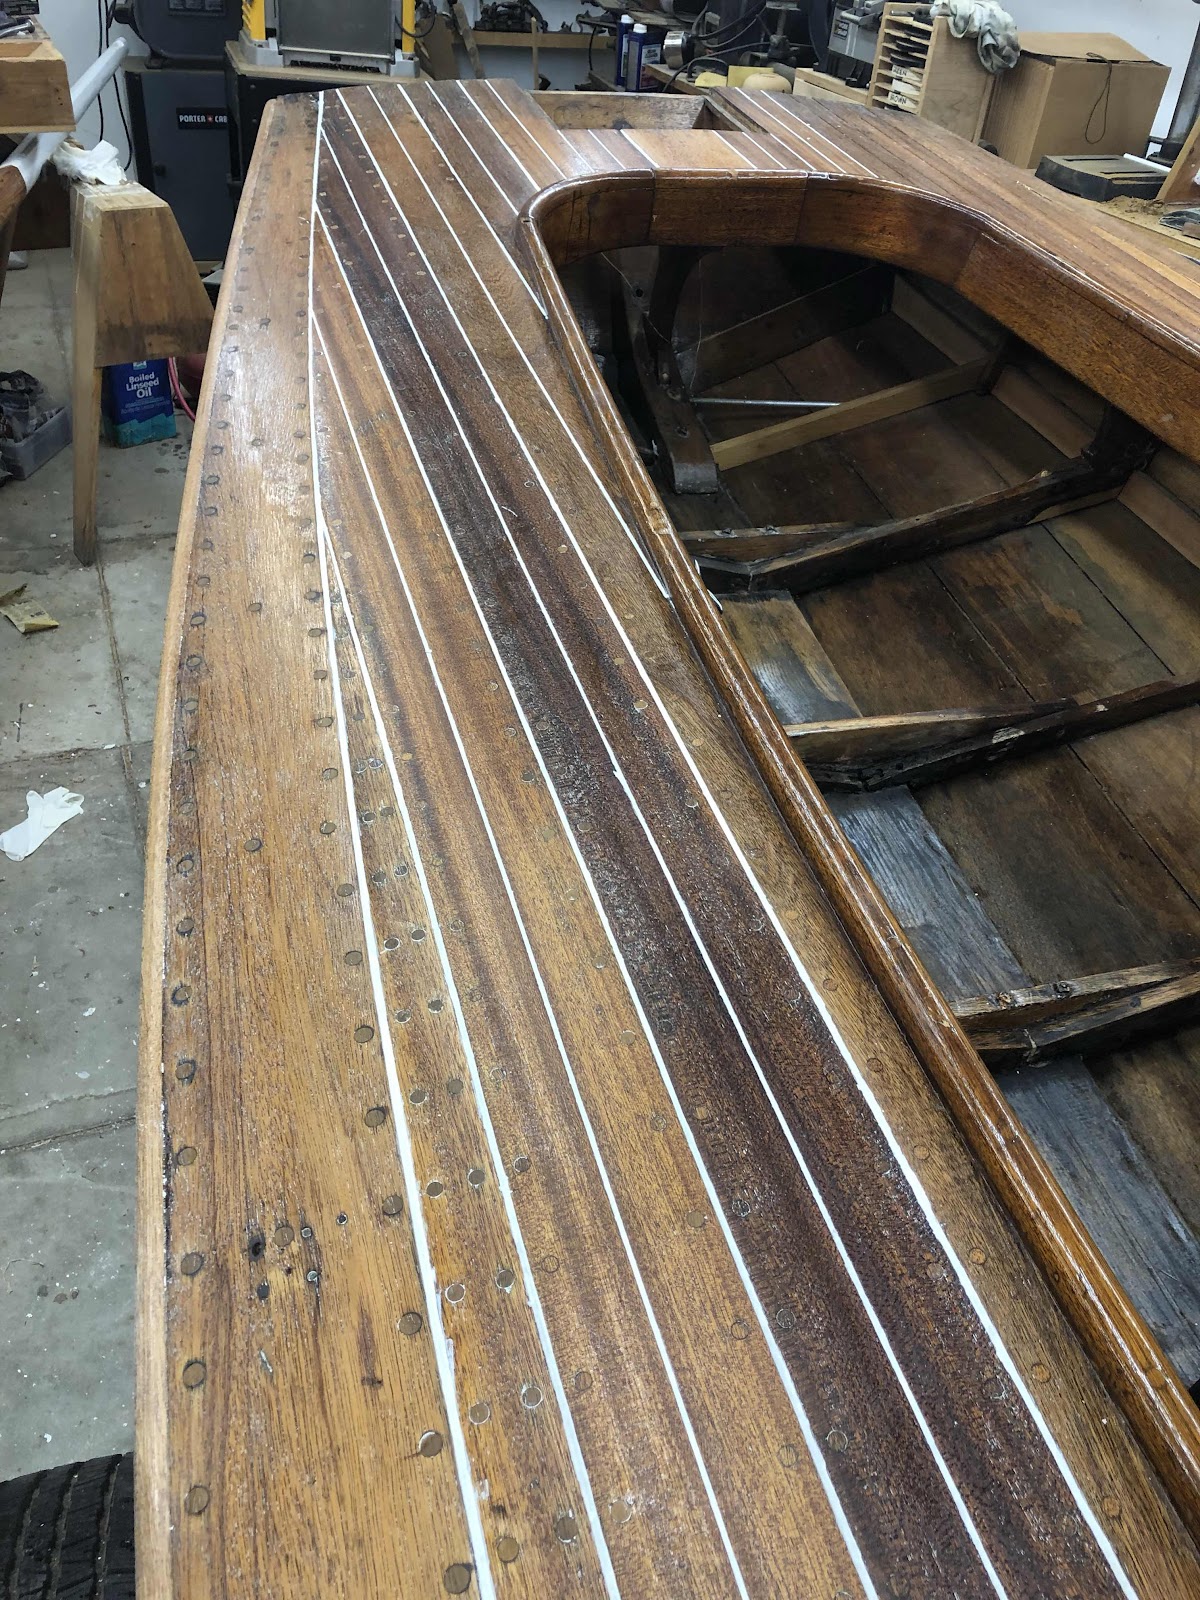
All the putty is in and now I need to wait a week for it to skim over.    I used window glazing which is probably closer to what the boat had originally.  Not sure how wel it will hold up. But it went in easily and cleaned up nicely.    Didn’t need to tape, but I had put on three coats of varnish so the the glazing didn’t get into the grain.  


Monday, July 22, 2019

Caulking done. Paying seams

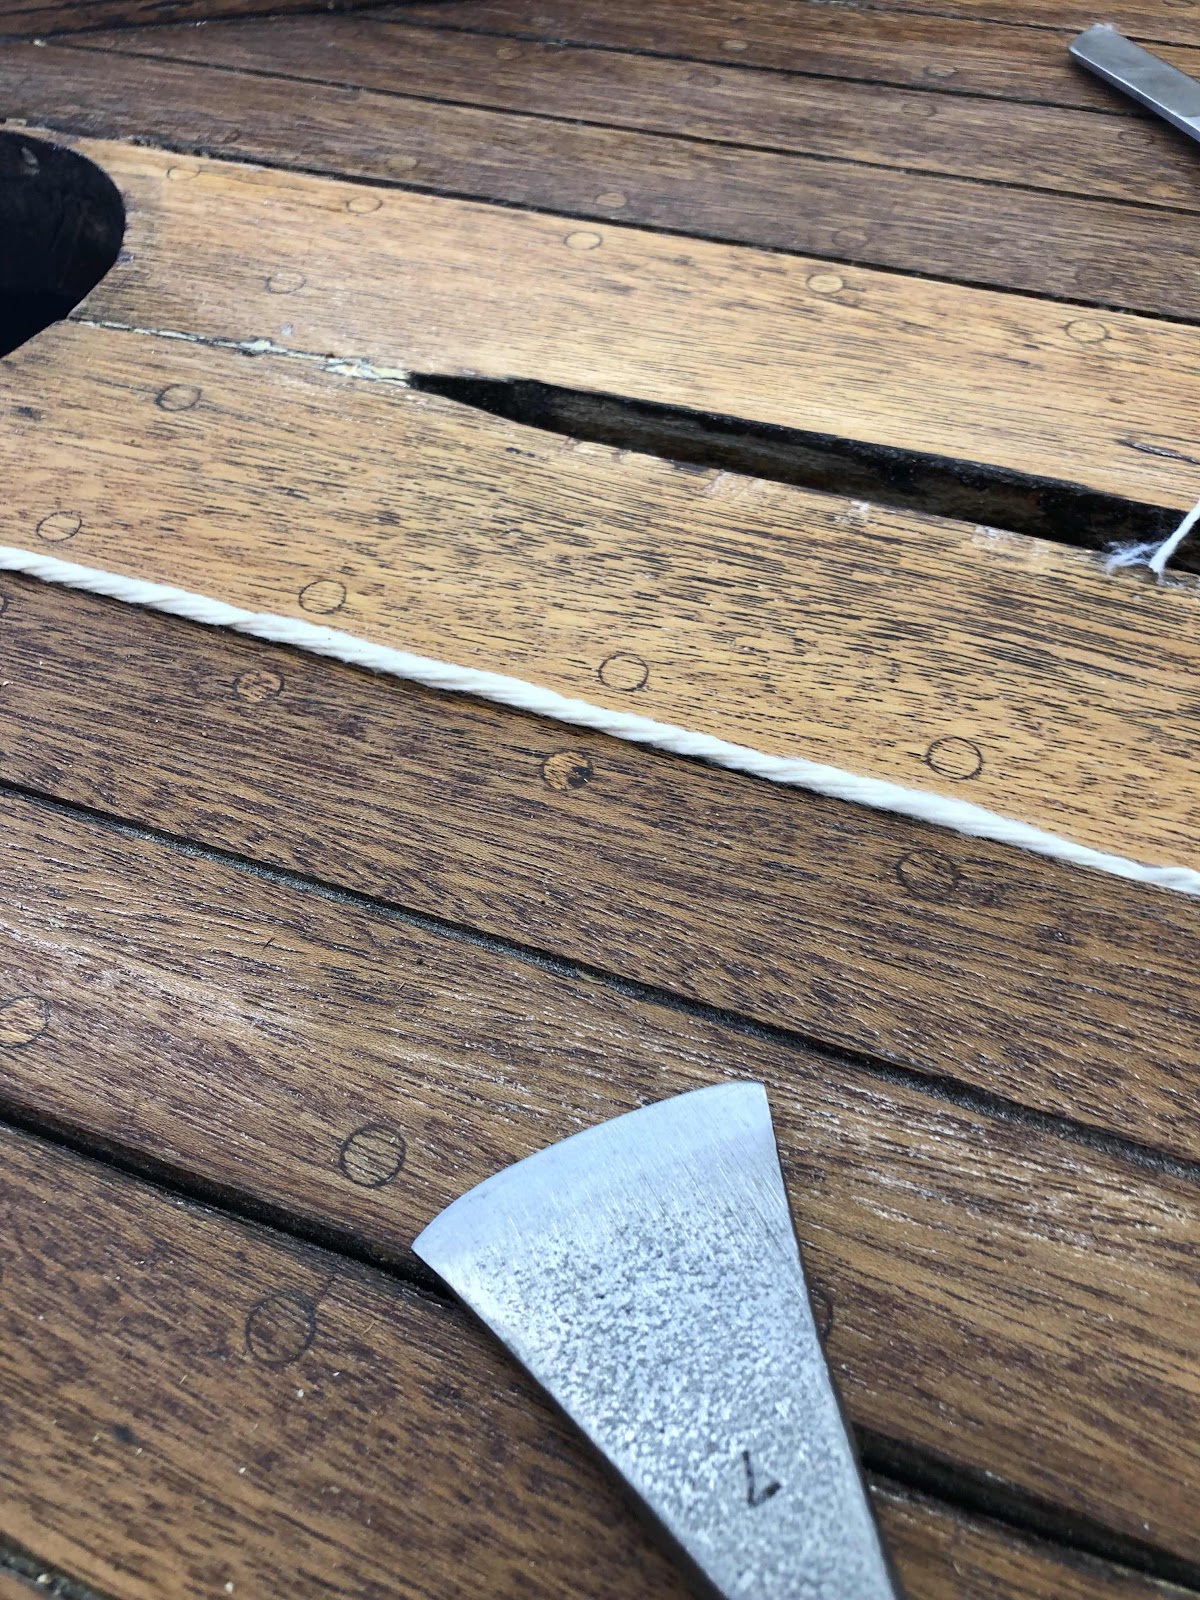
After three coats of varnish I started the caulking process.   Drove cotton twine into the seams then paid them wit dap 33 window glazing putty. Which is probably close to what they used originally.   I used a caulk tube to extrude the putty into strips then used a mason jointer to push it into the seams.   Much more satisfying then taping and using some of the new  fangled caulk that is a sticky mess.  But may not last as long, although nothing the caulk on the boat was window putty from 1936.  Once I have payed all the seams, I’ll wait until it skins over then resume more coats of varnish.  Getting closer and closer. 


Saturday, July 13, 2019

First coat of varnish

First coat of varnish is on
Below is the before picture after sanding and degreasing


Here is after (below). With the first coating epifanes thinned 50%


Monday, June 24, 2019

Almost Ready for Varnish

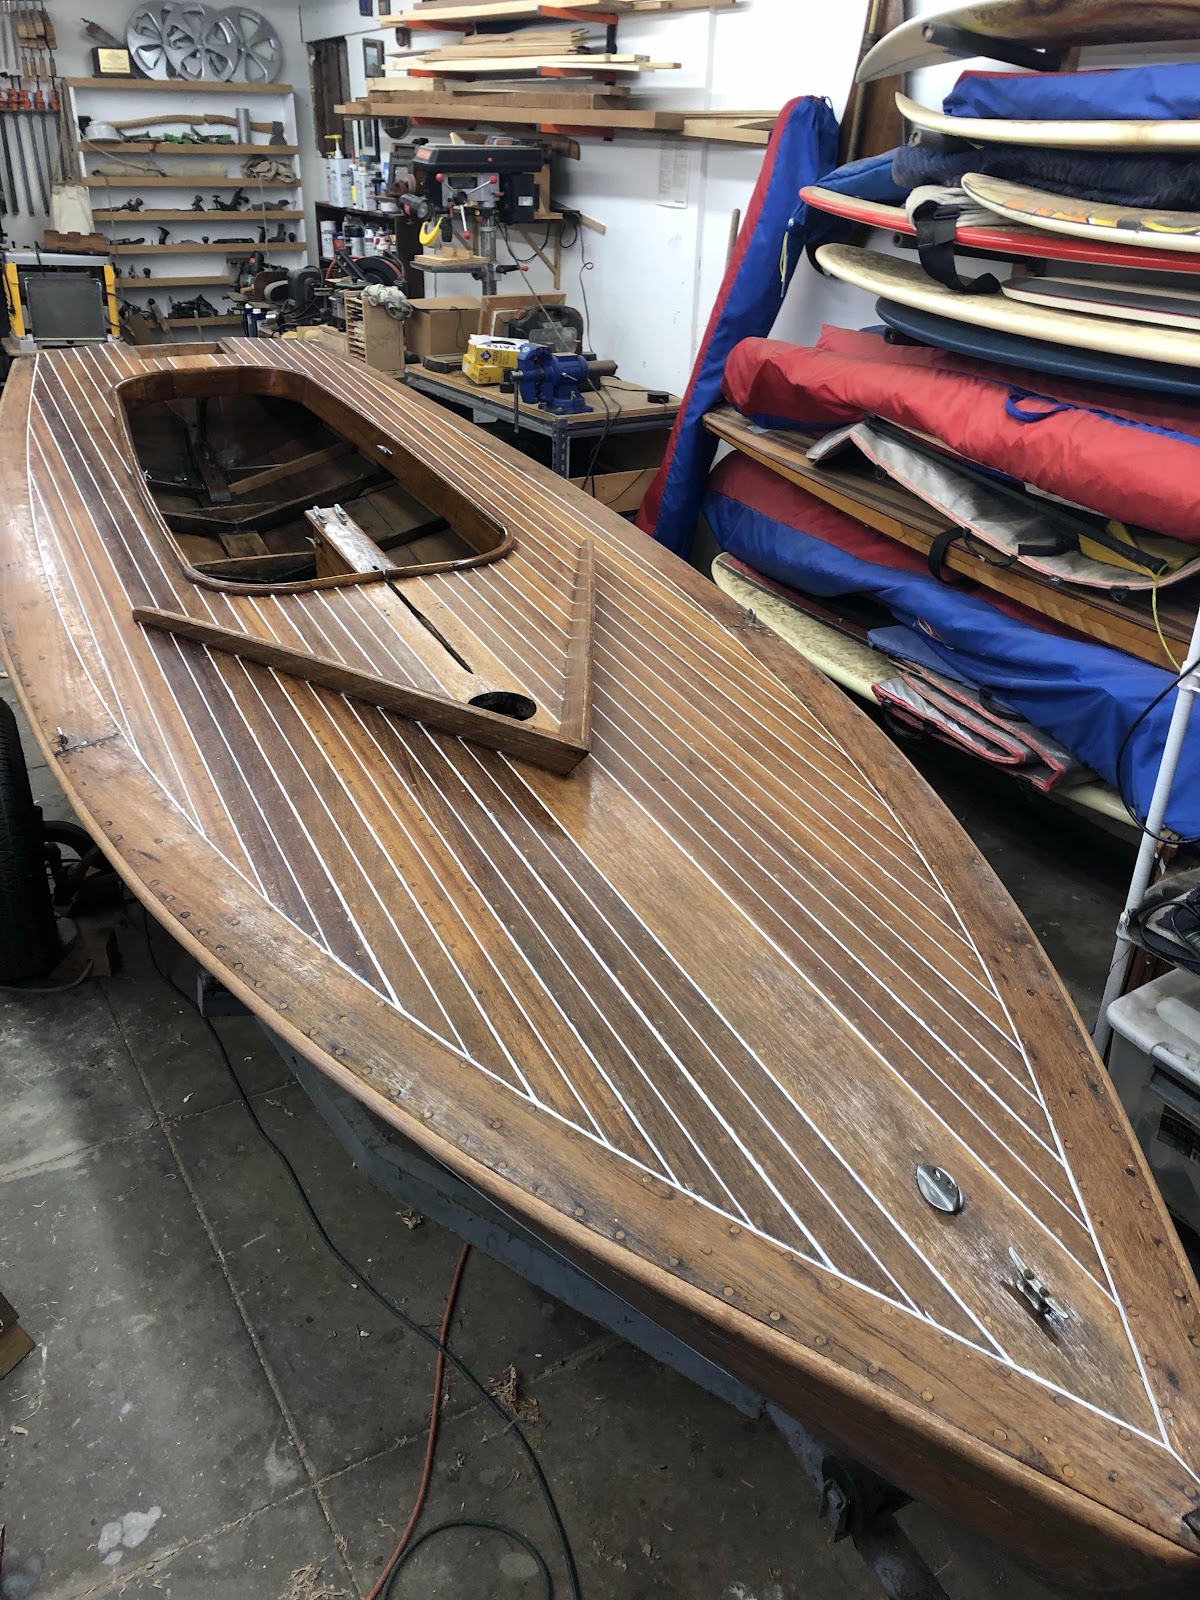
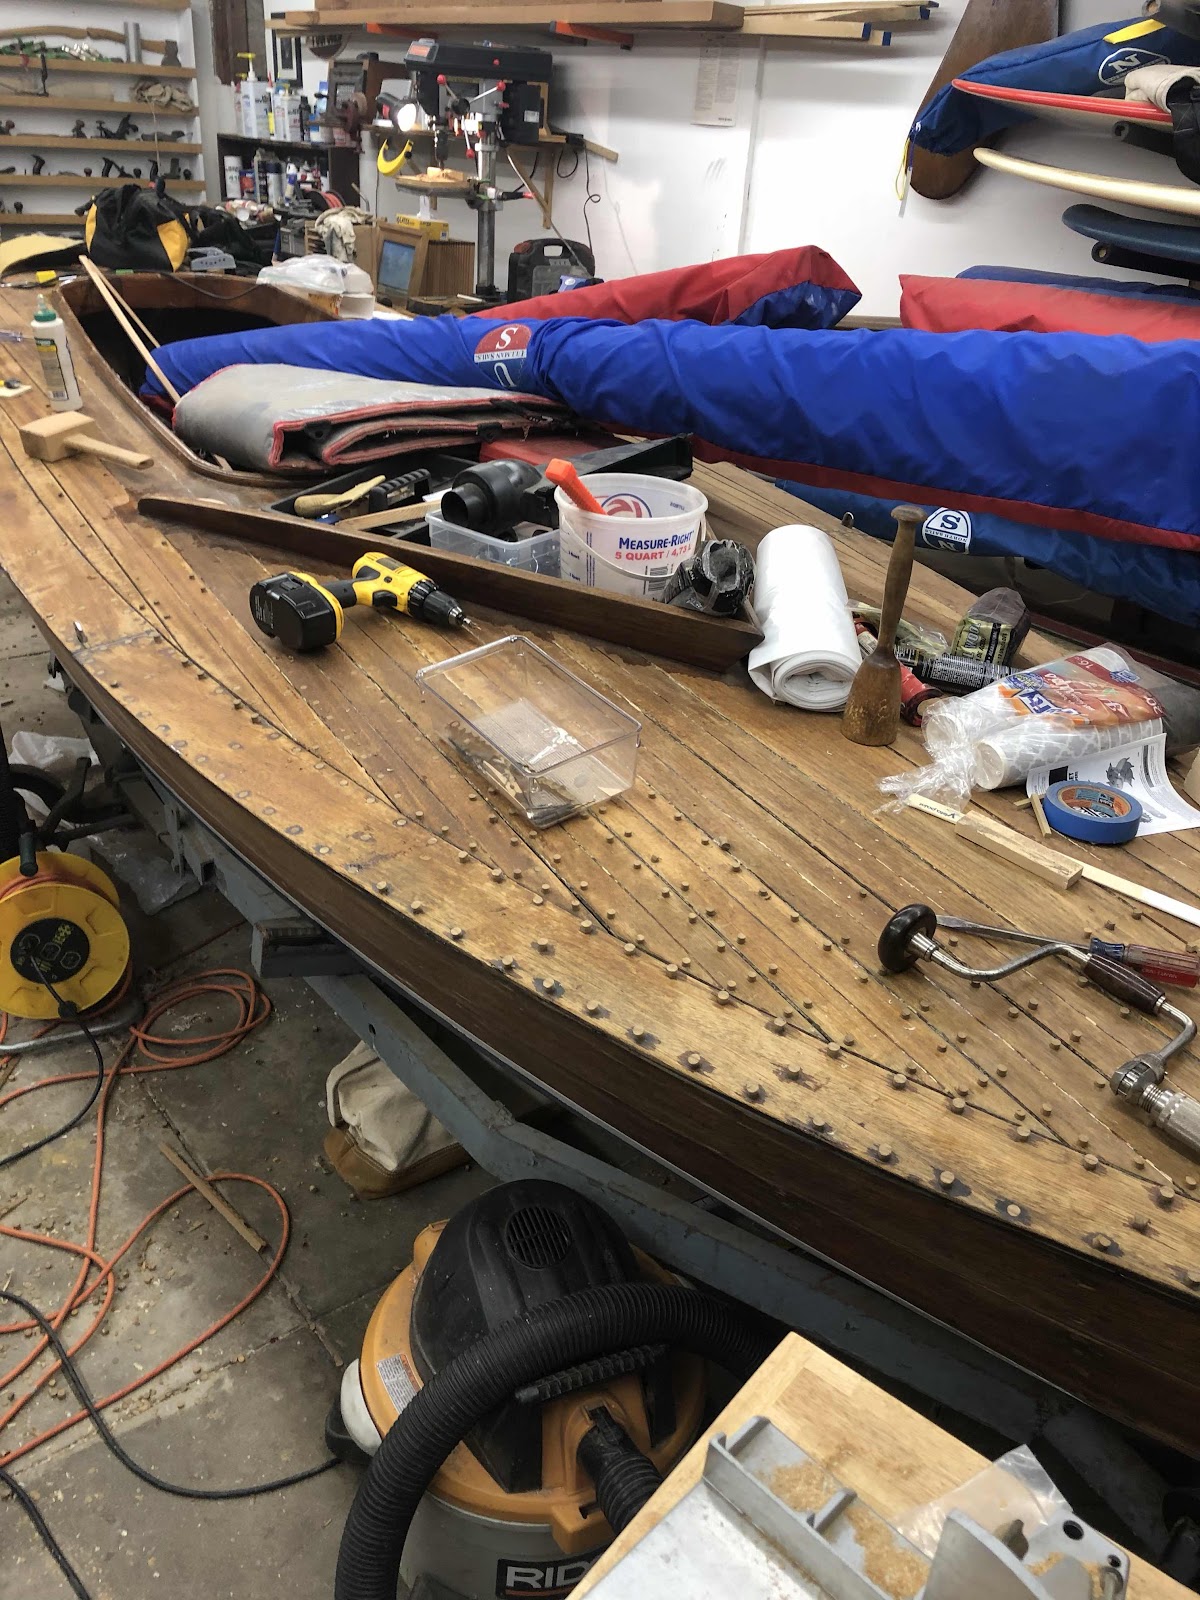
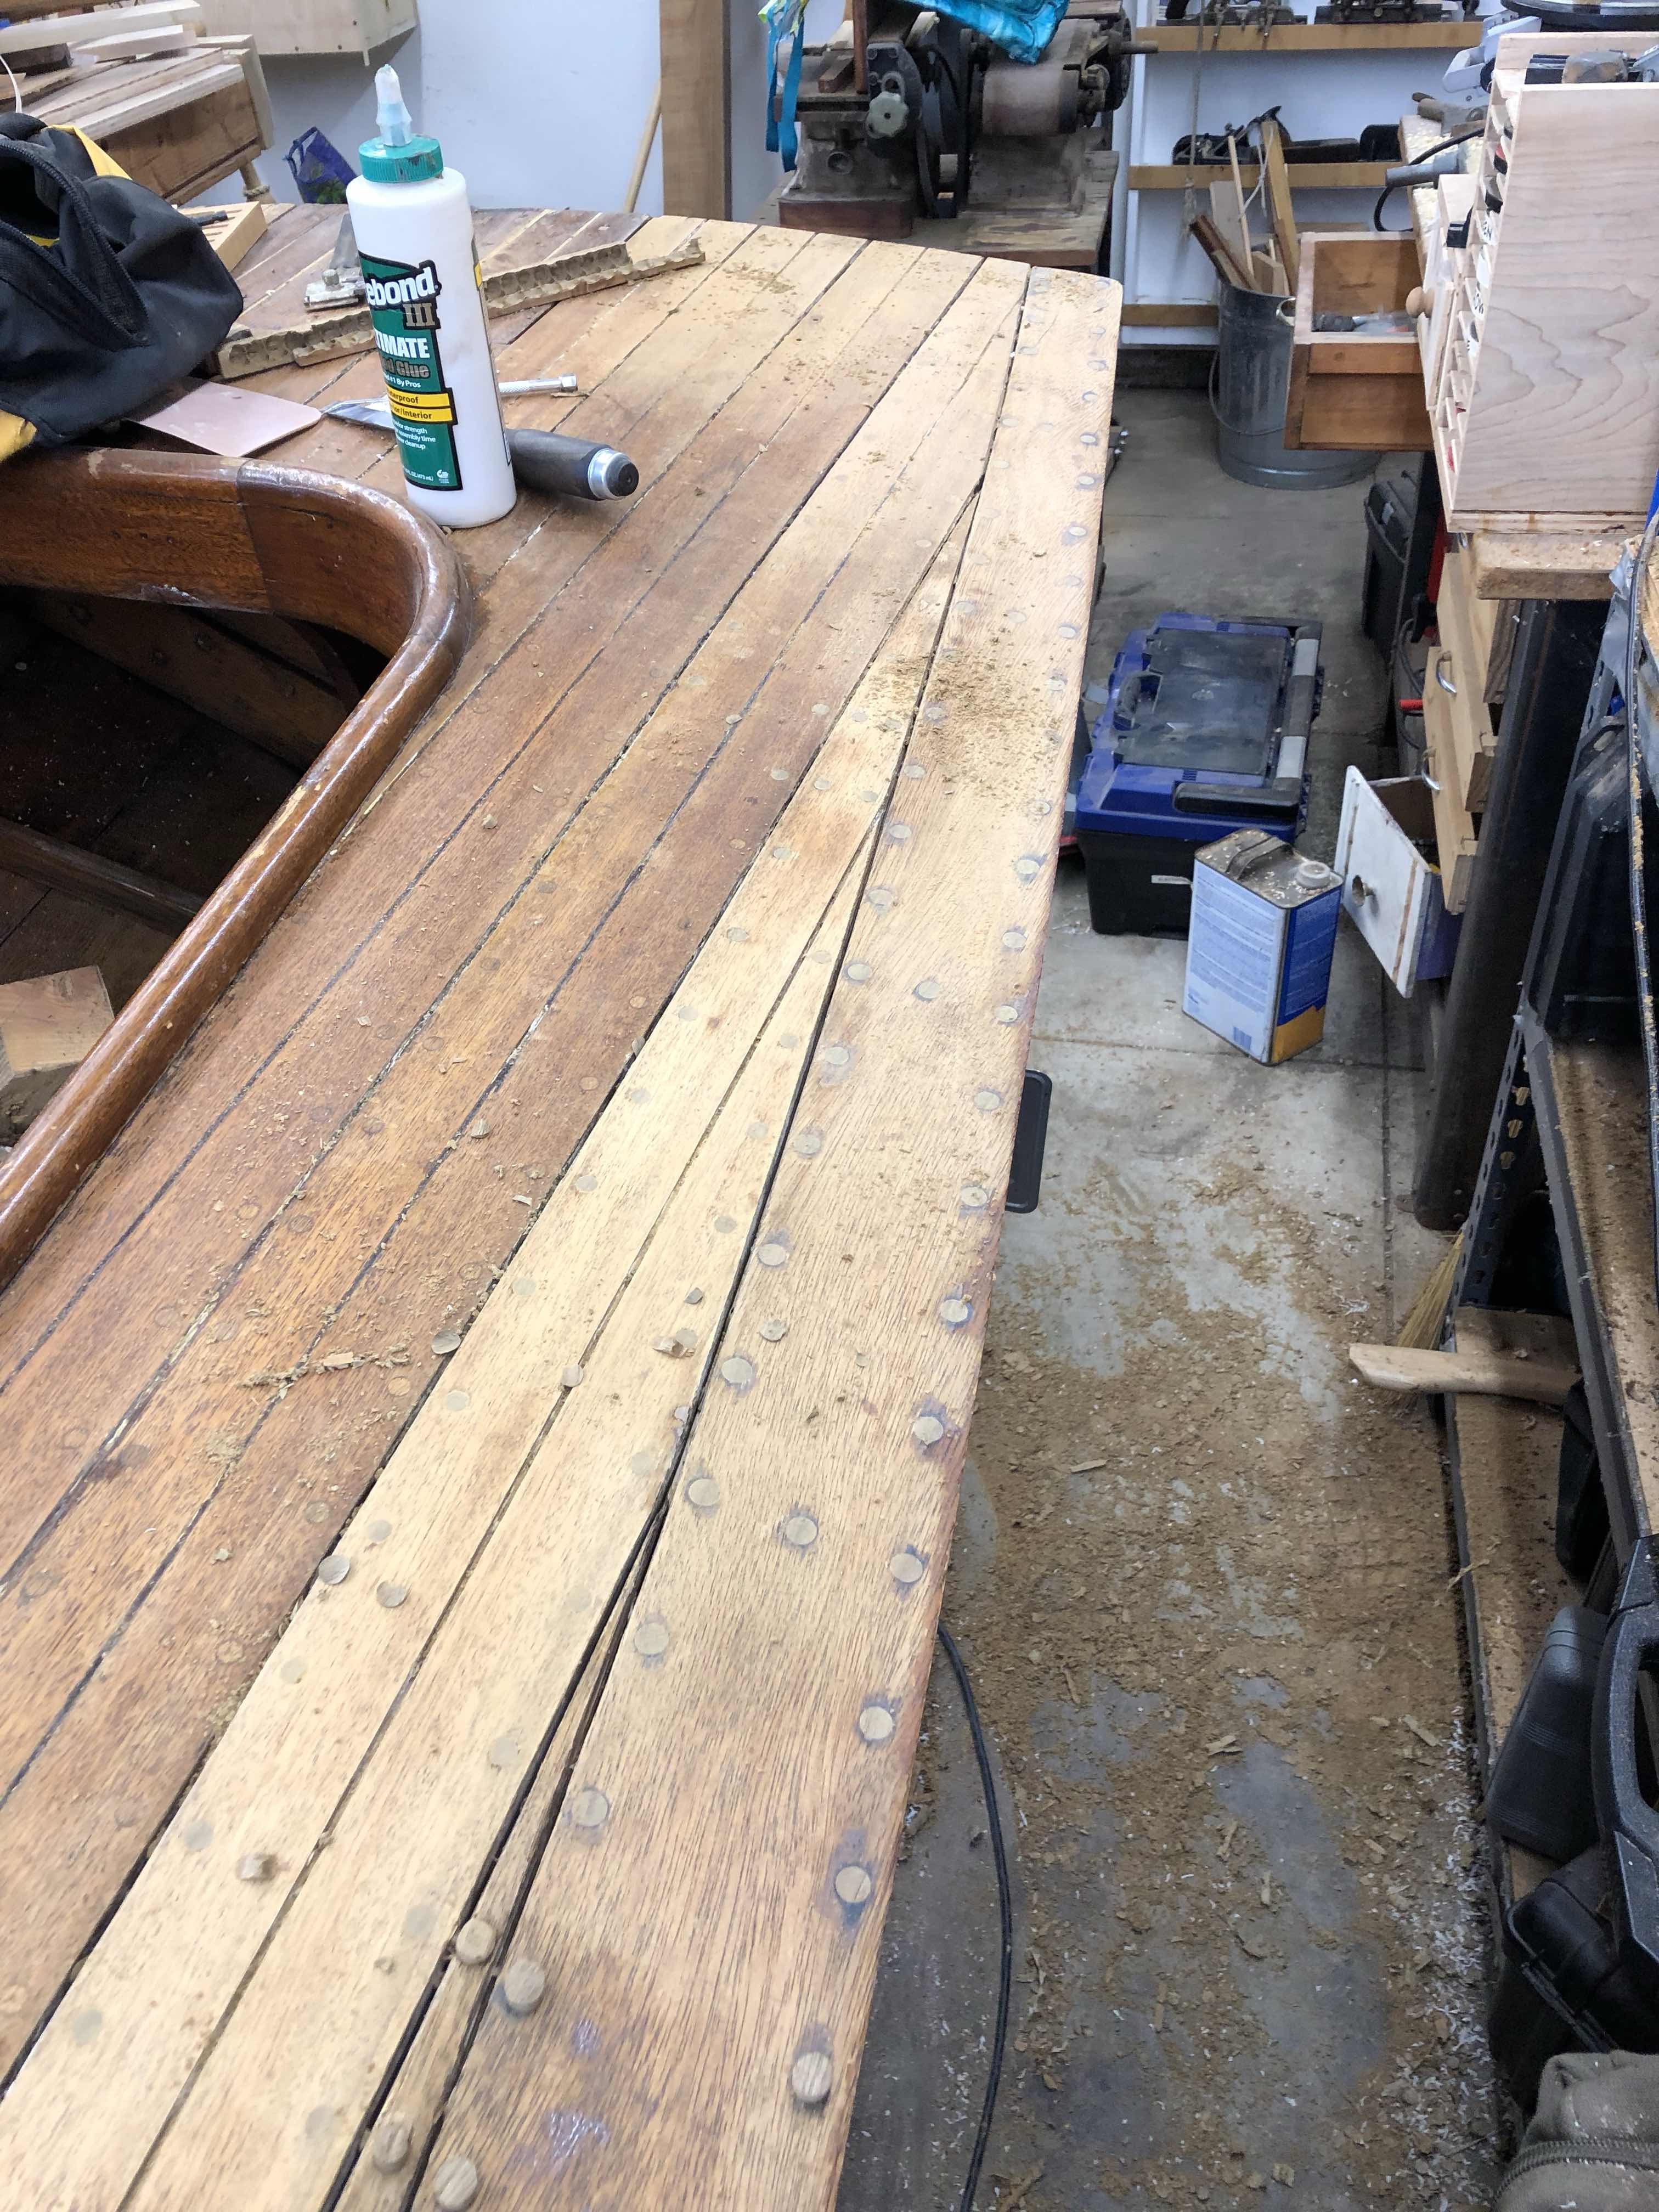
Rub rails are on.   All plugs in.  Only thing left is to finish is reefing the deck seams, and then I can start putting on the first few coats of vsrnish before I caulk and pay the deck seams. 

My Dad has been crushing it with the heat gun. And pushing me to get this thing done,   So huge thanks to him.   I want to abound this project going into year 8!


Wednesday, June 19, 2019

Deck plugs DONE!


Finished installing the plugs. Still need to trim them, and you always identify a few that need attention when they pop out under the force of a chisel.  But for now, happy to be making progress 


Wednesday, May 8, 2019

Rub Rail

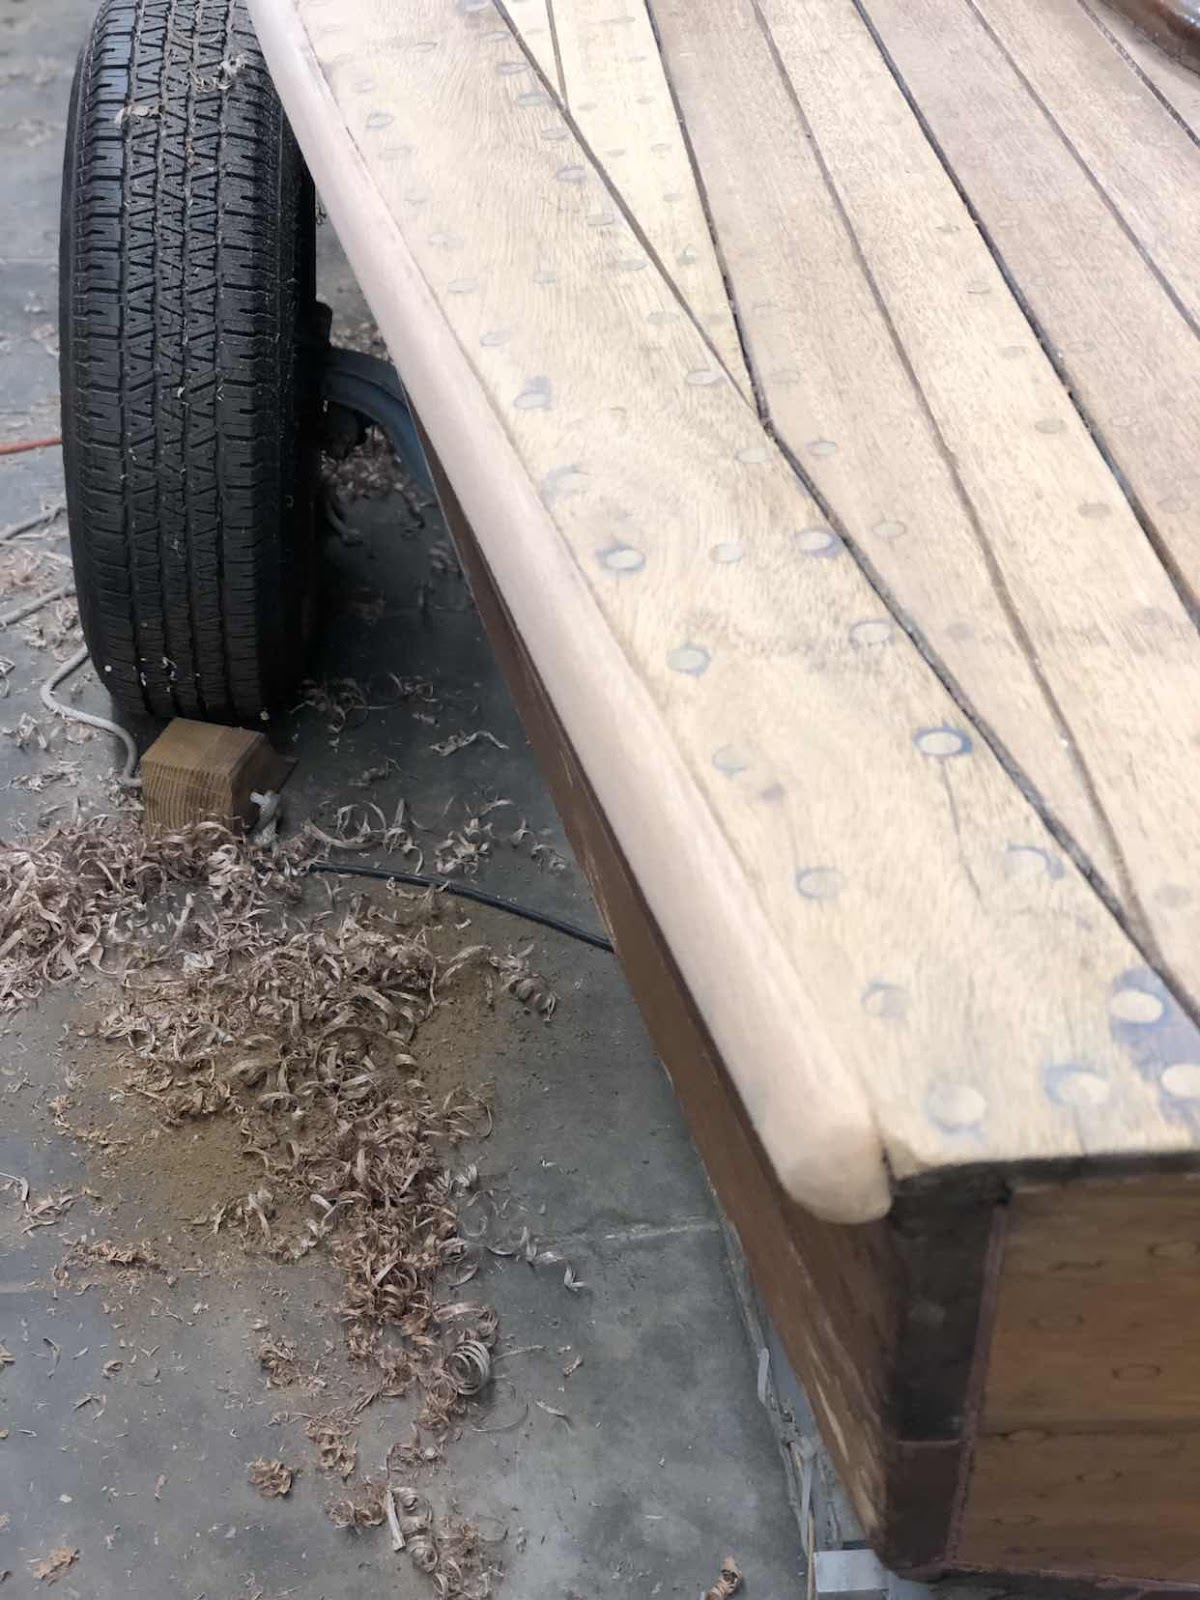
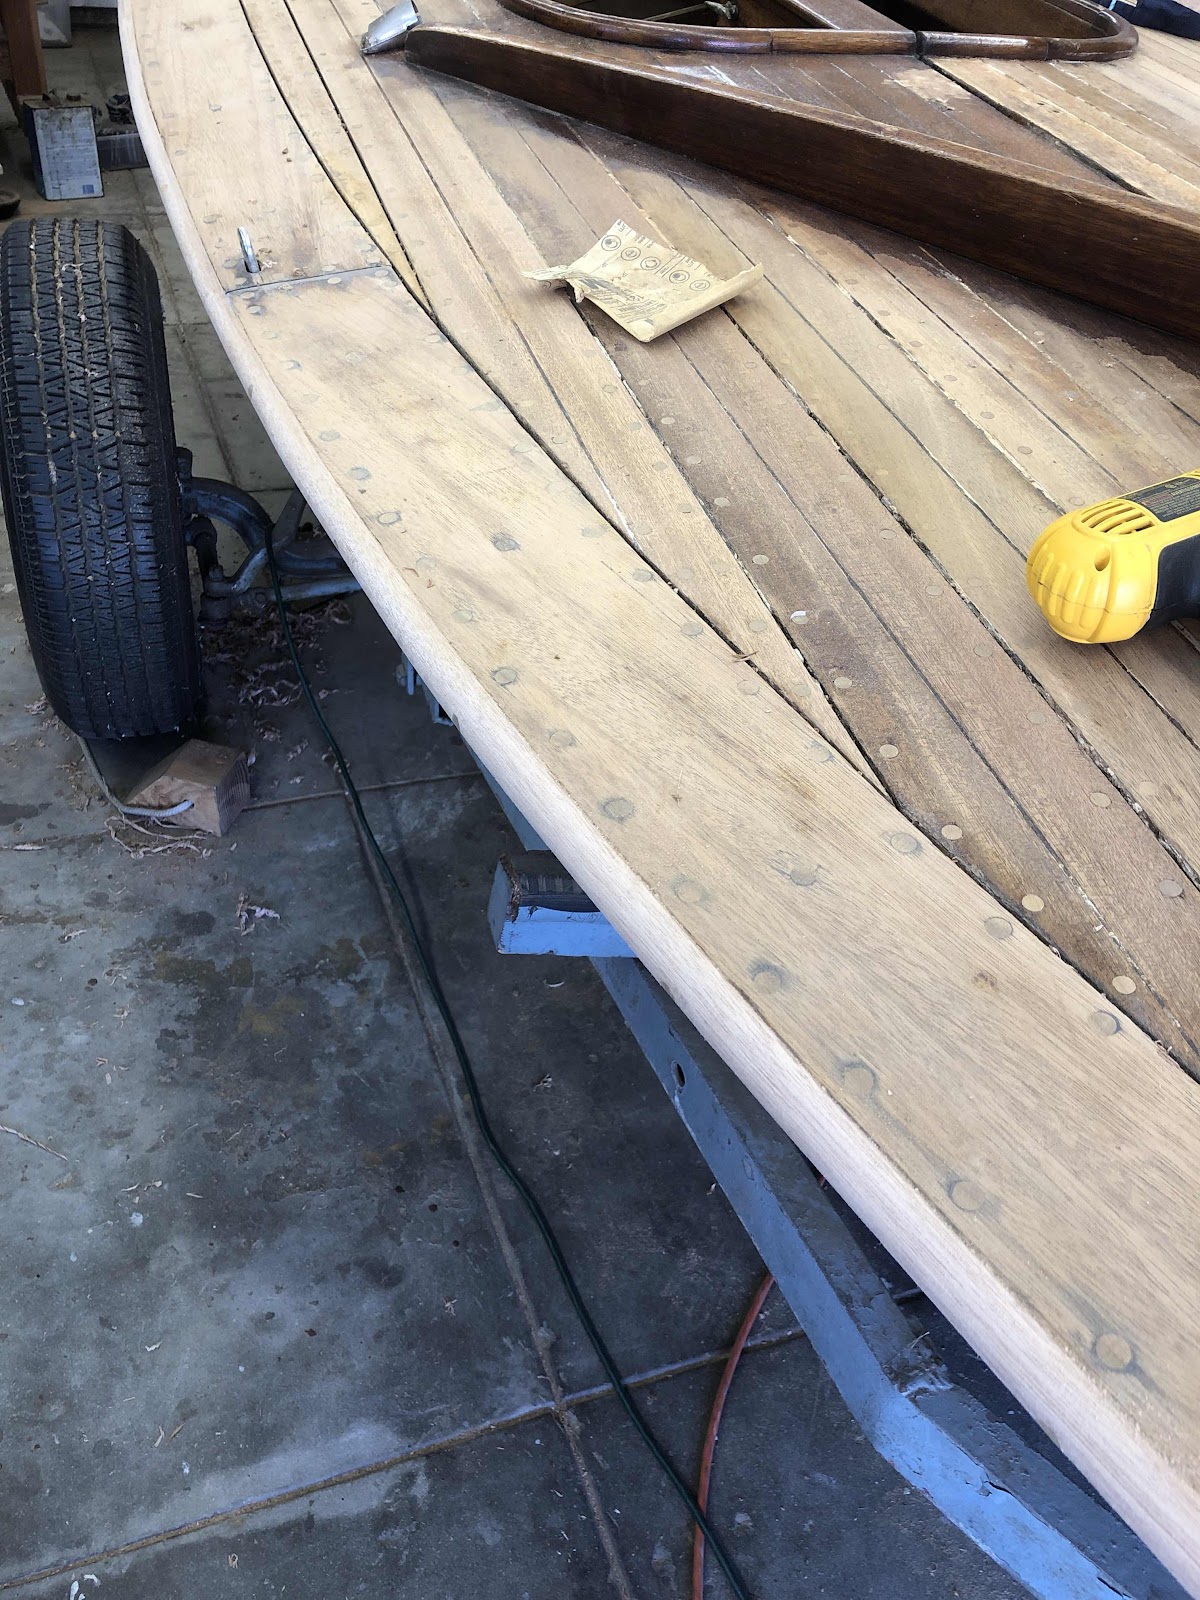
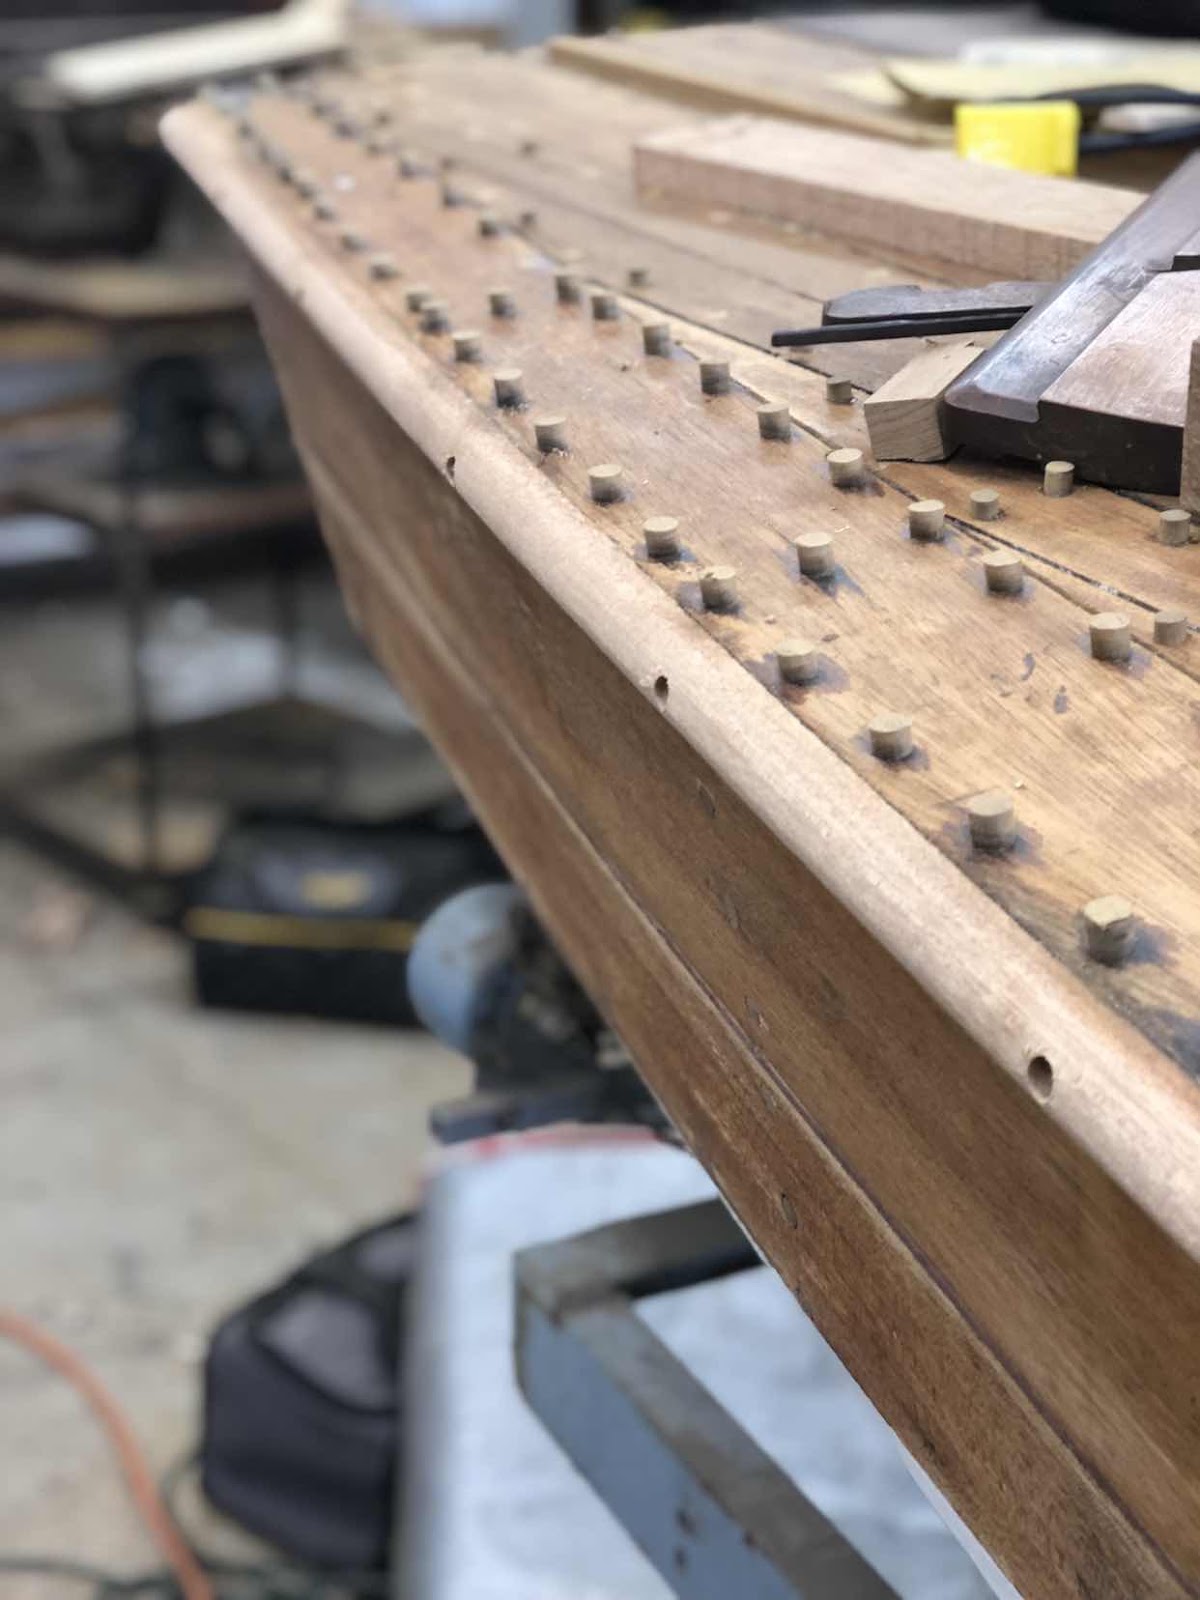
Finished fastening the deck and all that is left before varnish starts is bungs and installing the rub rail. Got the first section on.   Rounded using annikd moulding  plane.    I am going to need to steam them as they seem to cause some free fasteners to slip.   Setting up a steaming rig now. Pictures later.   (Note:  realized later steaming was not necessary)

Here is a pic of the first section of rub rail


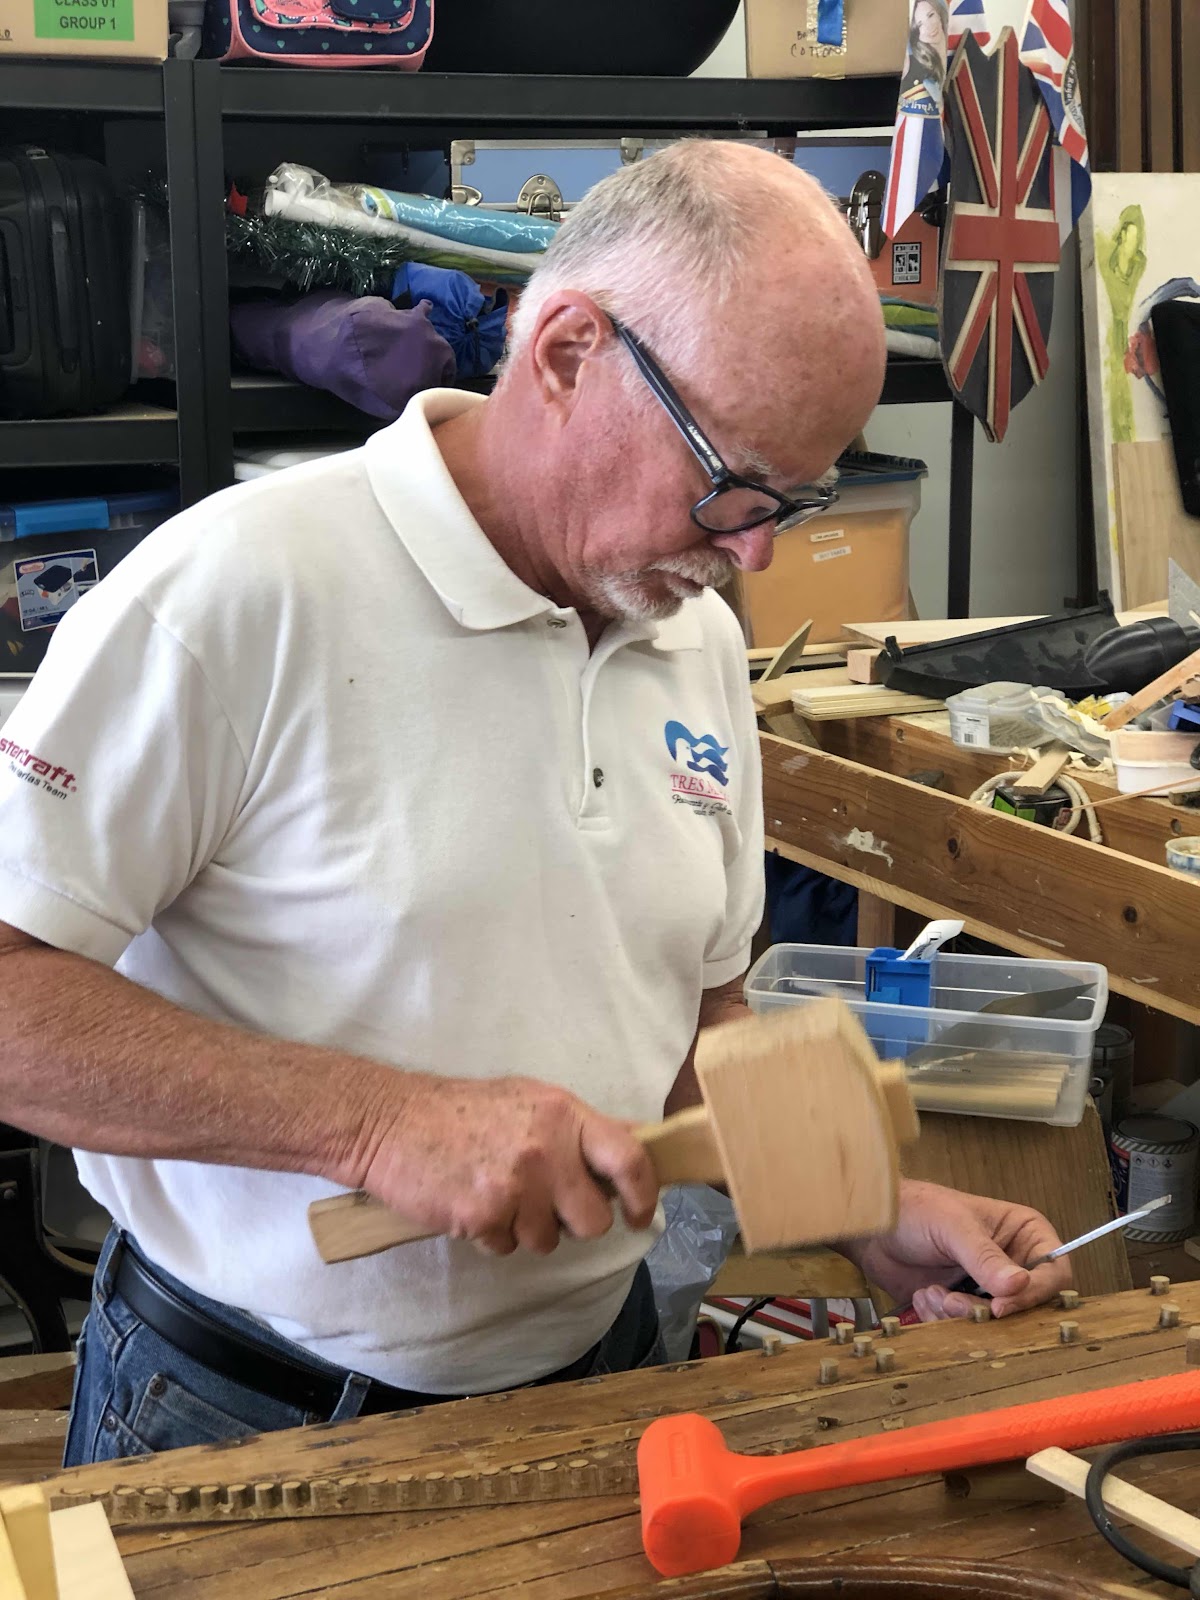
Check out Dad working on the bungs!   He’s been a huge help keeping me moving and I’m lucky to get the time with him in the shop


Tuesday, February 12, 2019

Plugging Away

Is that where the saying comes from?   After an afternoon of cutting and driving a bunch of plugs into the deck, I think this must be it.


Monday, January 21, 2019

Deck is going back on


Got some time over the holidays to get some work done on the boat.   Finished repairing all the screw holes and damage to the ribs.  Also have my dad in town so he has been helping out.  Mainly by pushing me from thinking too much to actually DOING.   He’s also helped with doing a lot of the epoxy work repairing the planks.  

With all that, this weekend I started reinstalling the port side deck. As of today all the deck is in place but I have t order more screws.  All gong well.  Should be sailing this Spring. Finally!


Monday, April 9, 2018

Cover Me


Now that the boat has been flipped back upright, its time to start focusing on the deck.   I knew I had to refasten the coverboards, as they were the last remaining areas with galvanized steel (that had started to rust, the sheerplanks still have their steel, but they seem to be fine).  I also suspected I'd find some areas that needed repair due to iron sickness.

I started off by removing the port side coverboard.  it was just like old times removing old screws, but I have gotten a lot better.  Don't forget, heat is your friend. heat a screw for a minute with a soldering gun, if it doesn't move, do another minute.   I had pretty good success, and the only broken screws were caused by my own impatience.

Once the coverboard came off, it was prety clear that the batten that is used at the inboard seam of will need to be replaced.  to do that, I'll need to remove a bunch of the fasteners at the end of each deck plank so that I can spring the planks back to get access to the full batten.  This work goes pretty easy with the 3/4" brass screws holding down the deck.  I've read that I shouldn't reuse any screws so all of these will be replaced.

I'll also need to drill and plug all of the scew holes in the sheer plank... fun! 

One of the main reasons I had decided not to refasten the sheer planks was that they had a lot going on,   screws from the deck stringers, screws from the coverboards, as well as the regular screws into the ribs.  Now that I had the coverboards off,  I thought - for about a split second - about doing the sheer planks.    I don't have time for that nonsense.

hope to have the deck planks sprung this weekend.  Seems my completion date keeps pushing out a bit, but still have a fighting chance to make it on the water for the May 20 race. 

Ordered the sails today. looking forward to seeing them full.


View from the bow of the coverboad area

the batten looks particularly bad right around the shroud plates.  Hoping this is isolated to the batten.

Here are the deck planks sprung at the aft quarter.  The batten is in better shape back here, but the whole thing will be replaced.


Tuesday, March 20, 2018

Turning the Corner

After many years of working on refastening in fits and starts, the hull is finally solid.   Last weekend, friends, neighbors, and strangers converged on my backyard to help turn Shady Lady.  We had a crew from Snipe Fleet 24, several neighbors, and even a Yoga instructor from Boston, who was staying at my neighbors air bnb.

Thanks to everyone for the muscles and the good company.

After the turn was complete, we even had a fleet meeting in my driveway, just like the meeting we had to restart the fleet 6 years ago!

It was nothing fancy, good old fashioned manpower got her off the trailer, onto some sawhorses, then lowered to the ground, and manually rolled over.   I was worried about whether this would be safe, but in the end, with plenty of people, it was easy.

Now the work starts in refastening the coverboards, refinishing the deck, and getting her ready to go in the water.

we have a wooden dinghy race in May, and I'm hoping to have her ready for that.


Here is the crew that showed up to help.   They were awesome!
on the ground, almost ready to rol

The snipe fleet on the partially stripped deck.

Here she is after getting right side up for the first time in a long time.  I had almost forgotten what she looked like


Removing the bungs from the coverboards, the coverboards were fastened with galvanized steel, while the rest of the deck planking was put on with bronze. so only two boards to remove.